Build a Code Editor Like VS Code, Part 1: The Stack and the Shell
AdminJune 24, 20268 min read
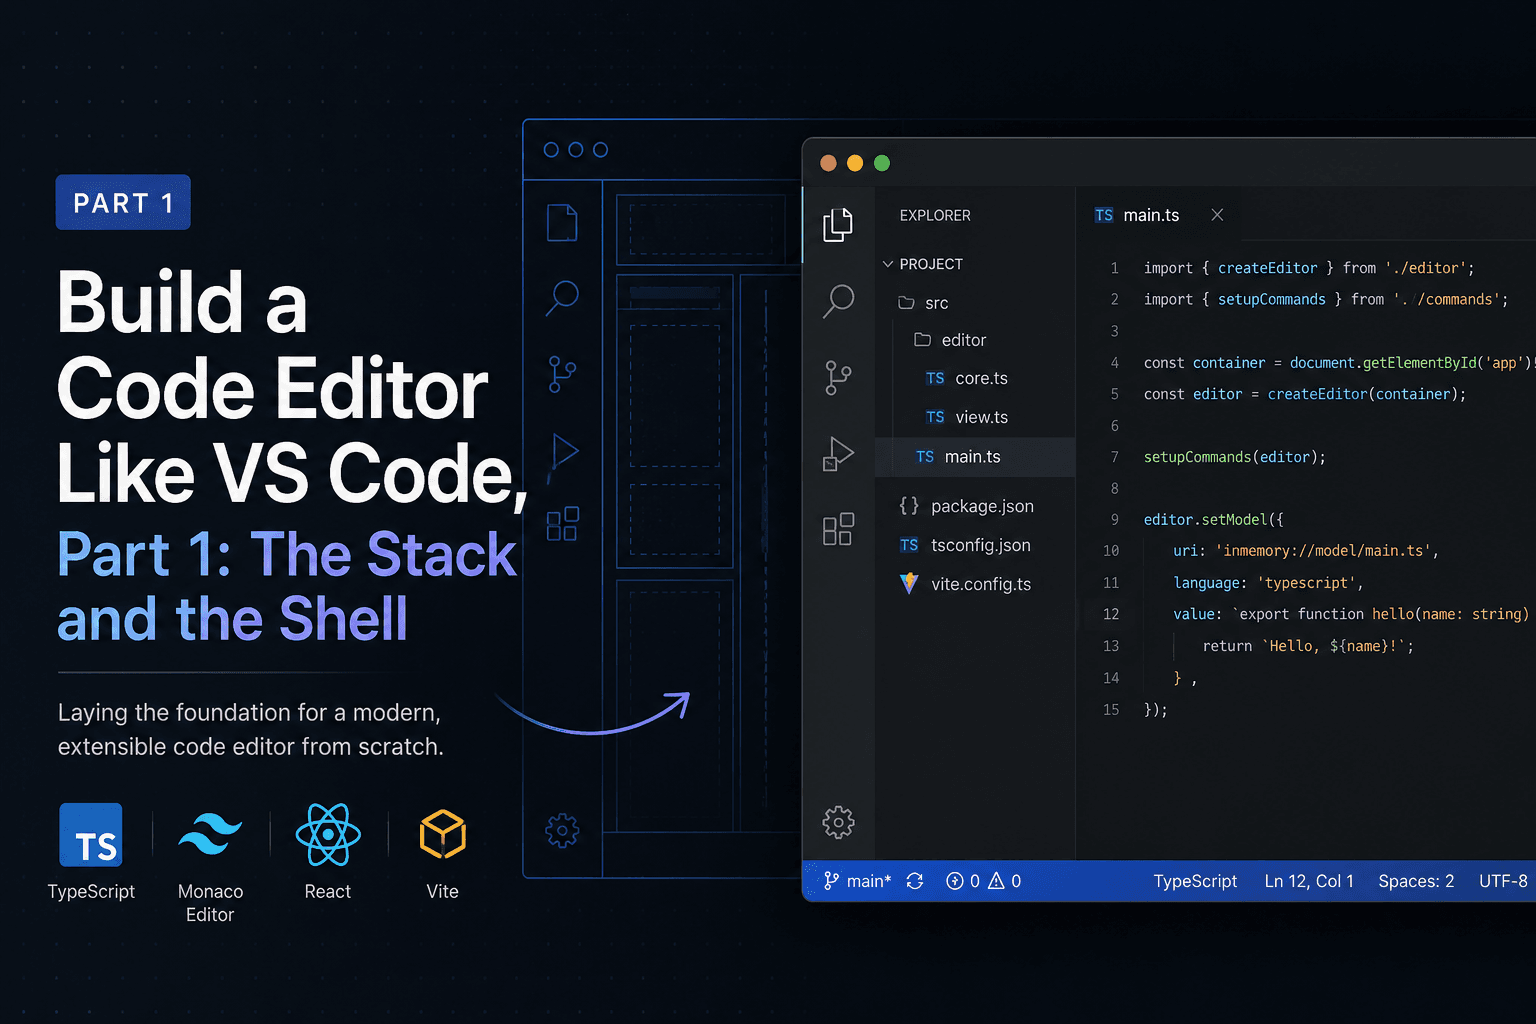
This is the start of a series where we build a desktop code editor from scratch, the same kind of thing VS Code is. By the end of the series you'll have an app with an embedded code editor, a working terminal, and a file explorer. We start without syntax highlighting and add capability one part at a time.
In this first part we make the big decision, which is what to build it with, and then scaffold the app and stand up the three-pane layout that every later part fills in.
Strip VS Code down to its skeleton and you find three panes plus a host process:
┌──────────────┬─────────────────────────────────┐
│              │                                 │
│   File       │          Editor                 │
│   Explorer   │          (Monaco)               │
│              │                                 │
│              ├─────────────────────────────────┤
│              │          Terminal               │
│              │          (xterm.js)             │
└──────────────┴─────────────────────────────────┘
A file explorer lists files on disk. A text editor lets you edit those files. A terminal runs a real shell. And a host process ties them together and is allowed to touch your operating system, so it can read files, spawn processes, and open windows. That last point is what decides our whole stack.
You could imagine building this in the browser. The problem is that a browser tab is sandboxed on purpose. It can't read arbitrary files off your disk, and it can't spawn a shell process for a terminal. To do those things from a web app you'd need a separate Node server running on the user's machine, with the browser talking to it over websockets. That means more moving parts, more security surface, and a worse install story.
A desktop app avoids all of that. We'll use Electron, which bundles a Chromium window for our React UI together with a Node.js process that can do anything Node can do, including reading files and spawning a shell. This is the same architecture VS Code uses, so most problems we hit already have a well-known answer.
| Concern | Choice | Why |
|---|---|---|
| Desktop shell | Electron | Filesystem and process access in one app. |
| UI framework | React + TypeScript | Familiar component model; types keep IPC honest. |
| Dev/build tooling | electron-vite | Vite HMR for the UI plus a clean main/preload/renderer split. |
| Text editor | Monaco | The editor that powers VS Code, available standalone. |
| Terminal | xterm.js + node-pty | xterm.js renders the terminal; node-pty runs the real shell. |
| File explorer | custom React tree | It's a tree over Node's fs, so no library is needed. |
A quick word on Monaco. We're building something like VS Code, and Monaco is the editor Microsoft extracted from VS Code and published on its own. Multi-cursor, find-and-replace, the minimap, and bracket matching all work from the first line. The tradeoff is that it's a heavy, opinionated chunk of code that can be awkward to bundle, and we'll deal with that when we embed it in Part 2.
Before scaffolding, you need three terms, because every Electron tutorial assumes them.
The main process is the Node.js process. There's one per app. It owns windows, the menu, and anything privileged like files and child processes. This is our host.
The renderer process is a Chromium window running our React app. It's sandboxed like a browser tab, so it can't touch the filesystem directly.
The preload script is a small trusted bridge that runs in the renderer but with access to a few Node APIs. It's how the renderer asks the main process to do privileged work, over a channel called IPC, short for inter-process communication.
The rule to hold onto is that the UI never touches the OS directly. When the file
explorer wants to list a directory, it doesn't call fs.readdir. It calls something
like window.api.listDir(path), the preload forwards that over IPC, the main
process runs the actual fs.readdir, and the result comes back. This keeps the
privileged code in one place that's easy to audit, and it's the pattern we'll reuse
for the terminal and for file saving later.
 Renderer (React)        Preload (bridge)         Main (Node host)
 ----------------        ----------------         ----------------
 window.api.listDir  ->  ipcRenderer.invoke  ->   ipcMain.handle
                                                   fs.readdir(path)
        result       <-        result        <-    return entries
We won't wire any real IPC in Part 1. The layout we build is shaped around these three panes precisely because each one plugs into this bridge later.
electron-vite gives us a project with the main, preload, and renderer split
already done. Run its scaffolder and let it create a project folder for you:
npm create @quick-start/electron@latest my-editor -- --template react-tsReplace my-editor with whatever you want to call the project; the scaffolder
creates a folder with that name and puts everything inside it. The
--template react-ts flag selects React with TypeScript up front, so you won't be
asked to pick a framework. You will still get a few yes/no prompts, and two of them
are worth answering deliberately:
.npmrc with electron_mirror settings,
and recent versions of npm then print "Unknown project config" warnings on every
install. Saying No keeps installs quiet. If you already answered Yes, just delete
the .npmrc file in the project root and the warnings stop.Then install and run:
cd my-editor
npm install
npm run dev
A window should open with the starter app and live reloading. That window is a renderer process, and the terminal you ran the command in is hosting the main process.
During npm install you'll see a handful of npm warn deprecated lines for
packages like glob, rimraf, and inflight, and possibly a low-severity
npm audit notice. Those come from deep inside the build tooling's own
dependencies, not from anything we wrote or will touch, so they're safe to ignore.
Inside that project folder you'll get roughly this structure, and every file path in this series is relative to it:
src/
  main/      index.ts      <- main process (the host)
  preload/   index.ts      <- the IPC bridge
  renderer/
    src/
      App.tsx              <- our React UI lives here
      main.tsx
      assets/
Everything we do in Part 1 happens under renderer/, since we're only building UI
for now.
Now we replace the starter App.tsx with our layout. There are three regions: an
explorer sidebar on the left, and on the right an editor stacked above a terminal.
We'll use plain CSS grid with no UI library so the structure stays obvious.
src/renderer/src/App.tsx:
import './App.css'

export default function App() {
  return (
    <div className="app">
      <aside className="sidebar">
        <header className="pane-title">Explorer</header>
        <div className="sidebar-body">
          {/* Part 3: the file tree goes here */}
          <p className="placeholder">No folder opened</p>
        </div>
      </aside>

      <main className="editor">
        <header className="pane-title">Editor</header>
        <div className="editor-body">
          {/* Part 2: Monaco mounts here */}
          <p className="placeholder">Open a file to start editing</p>
        </div>
      </main>

      <section className="terminal">
        <header className="pane-title">Terminal</header>
        <div className="terminal-body">
          {/* Part 4: xterm.js mounts here */}
          <p className="placeholder">$ shell coming in part 4</p>
        </div>
      </section>
    </div>
  )
}
Now the layout. We want the sidebar to span the full height on the left, and the editor and terminal to split the remaining space vertically. CSS grid expresses that cleanly with named template areas.
src/renderer/src/App.css:
:root {
  --bg: #1e1e1e;
  --bg-elevated: #252526;
  --border: #333;
  --text: #ccc;
  --text-dim: #888;
}

* { box-sizing: border-box; }

html, body, #root {
  height: 100%;
  margin: 0;
}

.app {
  height: 100vh;
  display: grid;
  grid-template-columns: 240px 1fr;
  grid-template-rows: 1fr 200px;
  grid-template-areas:
    "sidebar editor"
    "sidebar terminal";
  background: var(--bg);
  color: var(--text);
  font-family: -apple-system, "Segoe UI", sans-serif;
  font-size: 13px;
}

.sidebar  { grid-area: sidebar;  background: var(--bg-elevated);
            border-right: 1px solid var(--border); }
.editor   { grid-area: editor; }
.terminal { grid-area: terminal; border-top: 1px solid var(--border); }

.sidebar, .editor, .terminal {
  display: flex;
  flex-direction: column;
  min-height: 0;   /* lets the body scroll instead of overflowing the grid */
  min-width: 0;
}

.pane-title {
  padding: 6px 12px;
  font-size: 11px;
  text-transform: uppercase;
  letter-spacing: 0.5px;
  color: var(--text-dim);
  background: var(--bg-elevated);
  border-bottom: 1px solid var(--border);
}

.sidebar-body, .editor-body, .terminal-body {
  flex: 1;
  overflow: auto;
  min-height: 0;
}

.terminal-body { background: #181818; font-family: ui-monospace, monospace; }

.placeholder { color: var(--text-dim); padding: 12px; }
Two details are worth pausing on, because they trip up most people laying out an editor.
The first is min-height: 0 on the panes. Grid and flex children default to a
minimum size of their content, which means a long file or a wall of terminal
scrollback will blow out the layout instead of scrolling. Setting min-height: 0
and min-width: 0 lets the inner body scroll within its pane. Both Monaco and
xterm.js need their container to have a real, bounded size, and this is what gives
them one.
The second is the fixed pixel rows and columns. The sidebar is 240px and the
terminal is 200px. Later we'll make those draggable, but a fixed shell first means
we're never debugging layout and feature wiring at the same time.
There's one more step, and skipping it leaves the layout looking wrong. The scaffold
ships its own stylesheet that centers the demo content in the middle of the window
and paints a decorative background. Its main.tsx pulls that in on the very first
line:
import './assets/main.css'That CSS sets display: flex with centering on body and #root, which shrinks our
.app to the size of its content and floats it in the middle of the window instead
of filling it. The symptom is a small cluster of panes in the center with empty,
faintly patterned space around them. Delete that import line from
src/renderer/src/main.tsx so only our App.css is in charge:
import { StrictMode } from 'react'
import { createRoot } from 'react-dom/client'
import App from './App'

createRoot(document.getElementById('root')!).render(
  <StrictMode>
    <App />
  </StrictMode>
)
The starter also leaves an assets/ folder and a components/Versions.tsx demo
component lying around. We never import them again, so you can delete them now or
just ignore them; they won't affect anything.
Run npm run dev again and you've got the VS Code silhouette: a dark window, an
Explorer rail, an editor area, and a terminal strip, each one a labelled, scrollable
container waiting for its real contents, all filling the window edge to edge.
We made the decision that drives everything else, which is choosing Electron because a code editor has to touch the OS, and we picked the same editor and terminal that VS Code itself ships. We scaffolded the app with electron-vite and built a three-pane shell with deliberate placeholders where Monaco, the file tree, and xterm.js will go.
We also put the most important idea in place before writing any privileged code: the
UI asks the host to do OS work over an IPC bridge. Every remaining part is mostly
about filling in one more window.api.* call.
In Part 2 we embed Monaco into the editor placeholder, get the bundling right, and put a real, editable text buffer on screen.