Build a Cozy Farming Game in Godot 4: Part 1 -- Character Movement & Your First Farm Scene
AdminAugust 12, 20268 min read
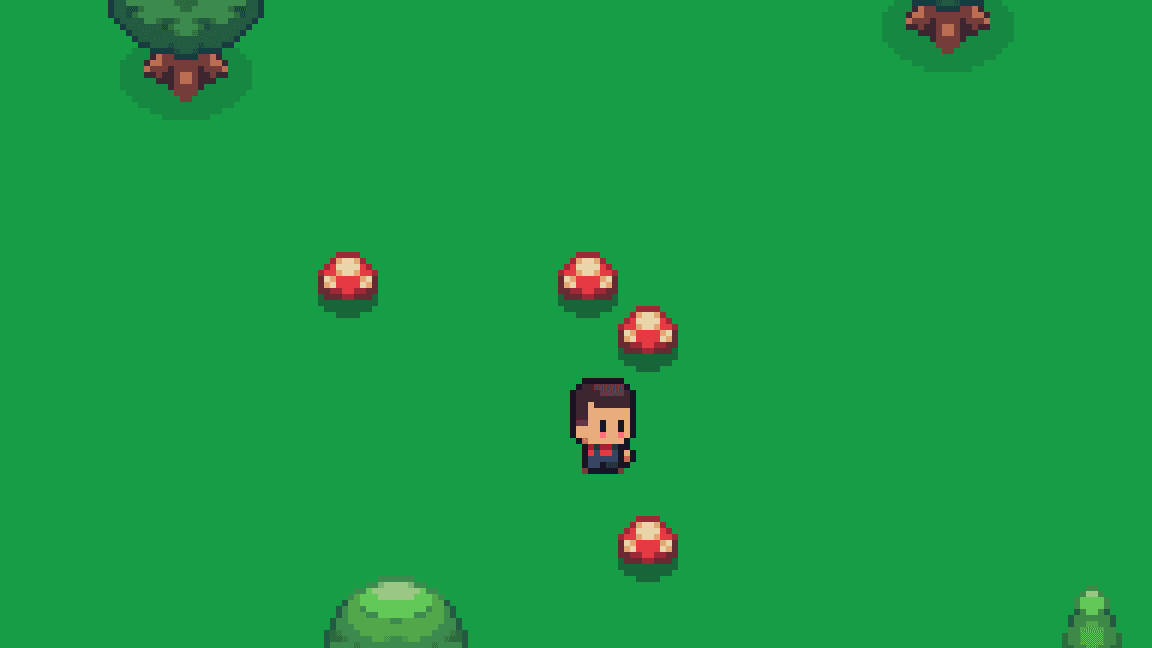
What you'll build: A playable prototype with a modular animated character, a following camera, and a small farm scene that already feels like the beginning of a cozy game.
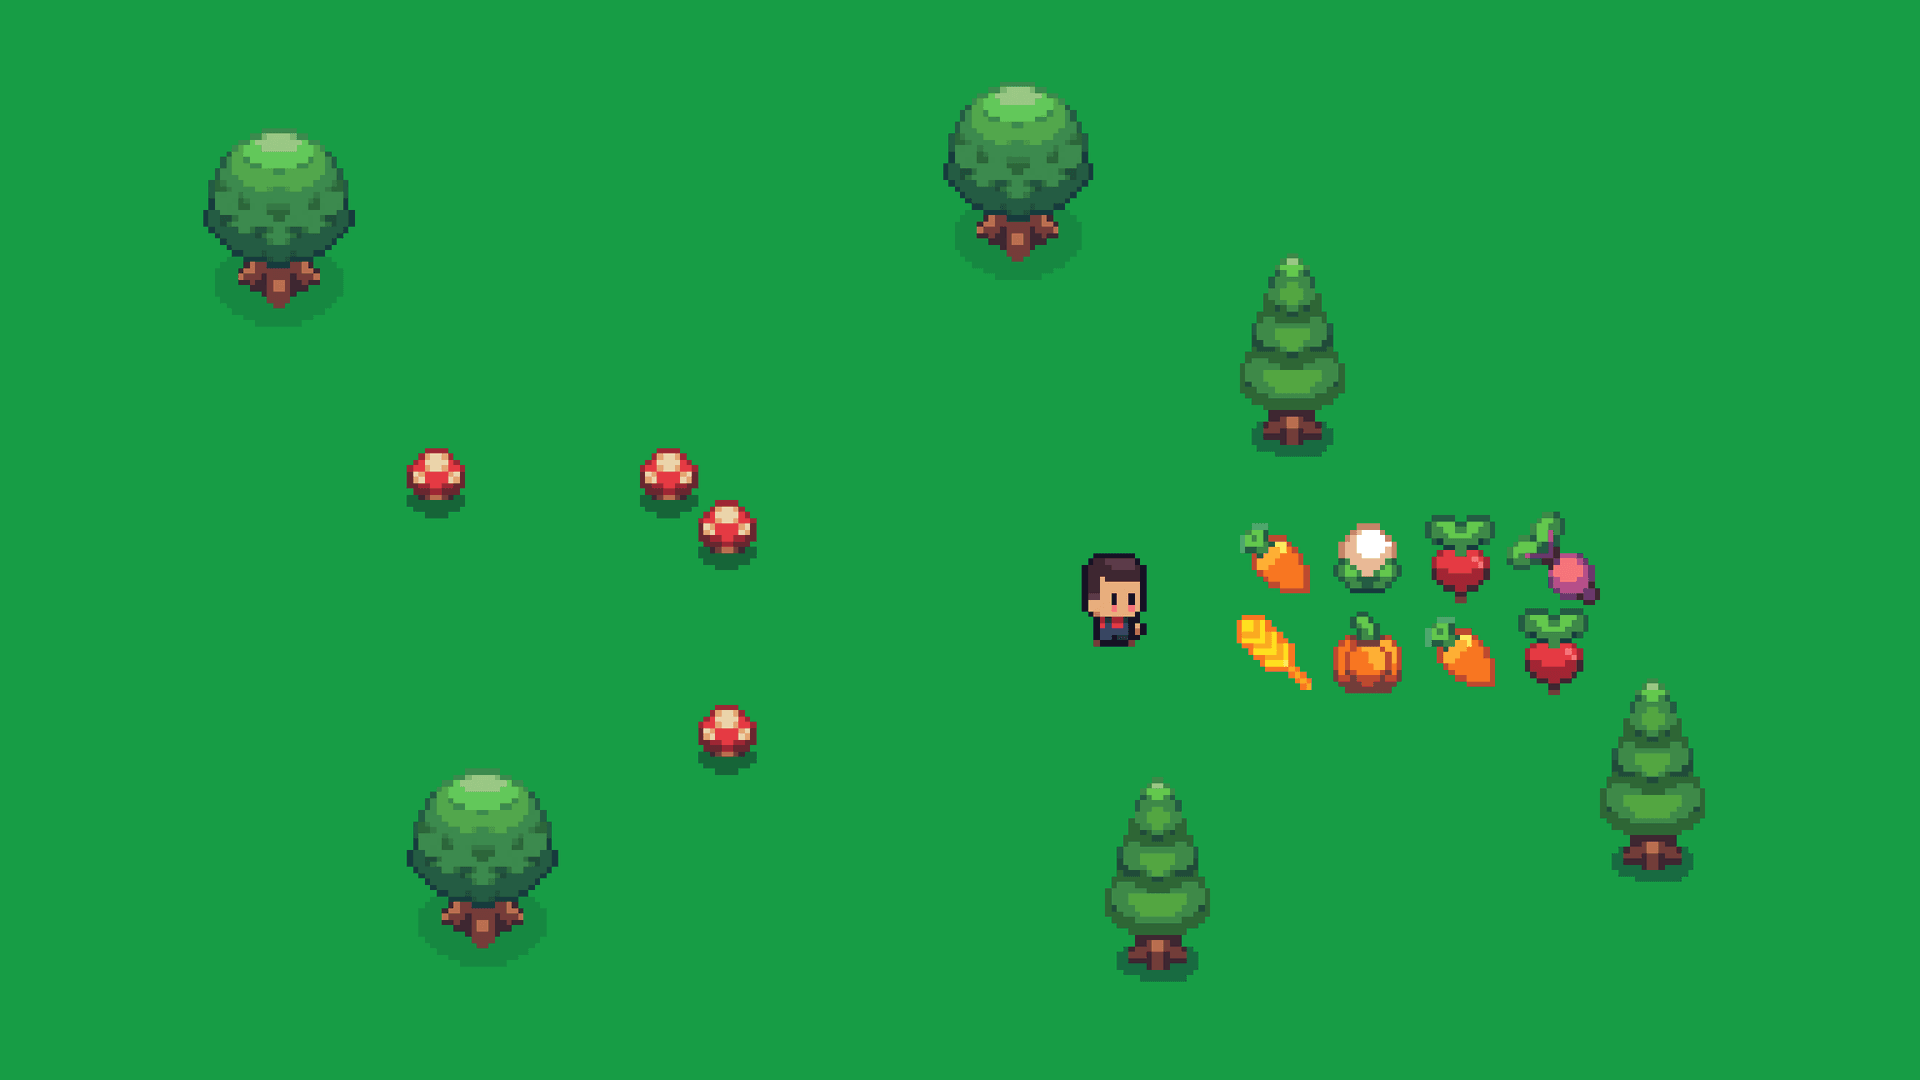
This series uses Sunnyside World by Daniel Diggle.
Download: https://danieldiggle.itch.io/sunnyside
The pack includes modular characters, animated decorations, crops, terrain, UI, and everything we'll need throughout the series.
Huge thanks to Daniel Diggle for creating such an excellent asset pack. Please follow the included license when using it.
GitHub: https://github.com/jpDxsolo/cozyfarm
Throughout this series every section ends with a Checkpoint.
If your project doesn't match the checkpoint, stop and fix it before moving on. It is much easier to correct mistakes immediately than several chapters later.
Before building anything, it helps to know how this asset pack expects a character to be put together.
The character is modular. The body and the hair are two separate
AnimatedSprite2D nodes stacked on top of each other, not one combined sprite.
That's what lets you change hairstyle later without redrawing anything, and
it's why our movement script has to drive both sprites in lockstep.
The animations are more economical than you might expect:
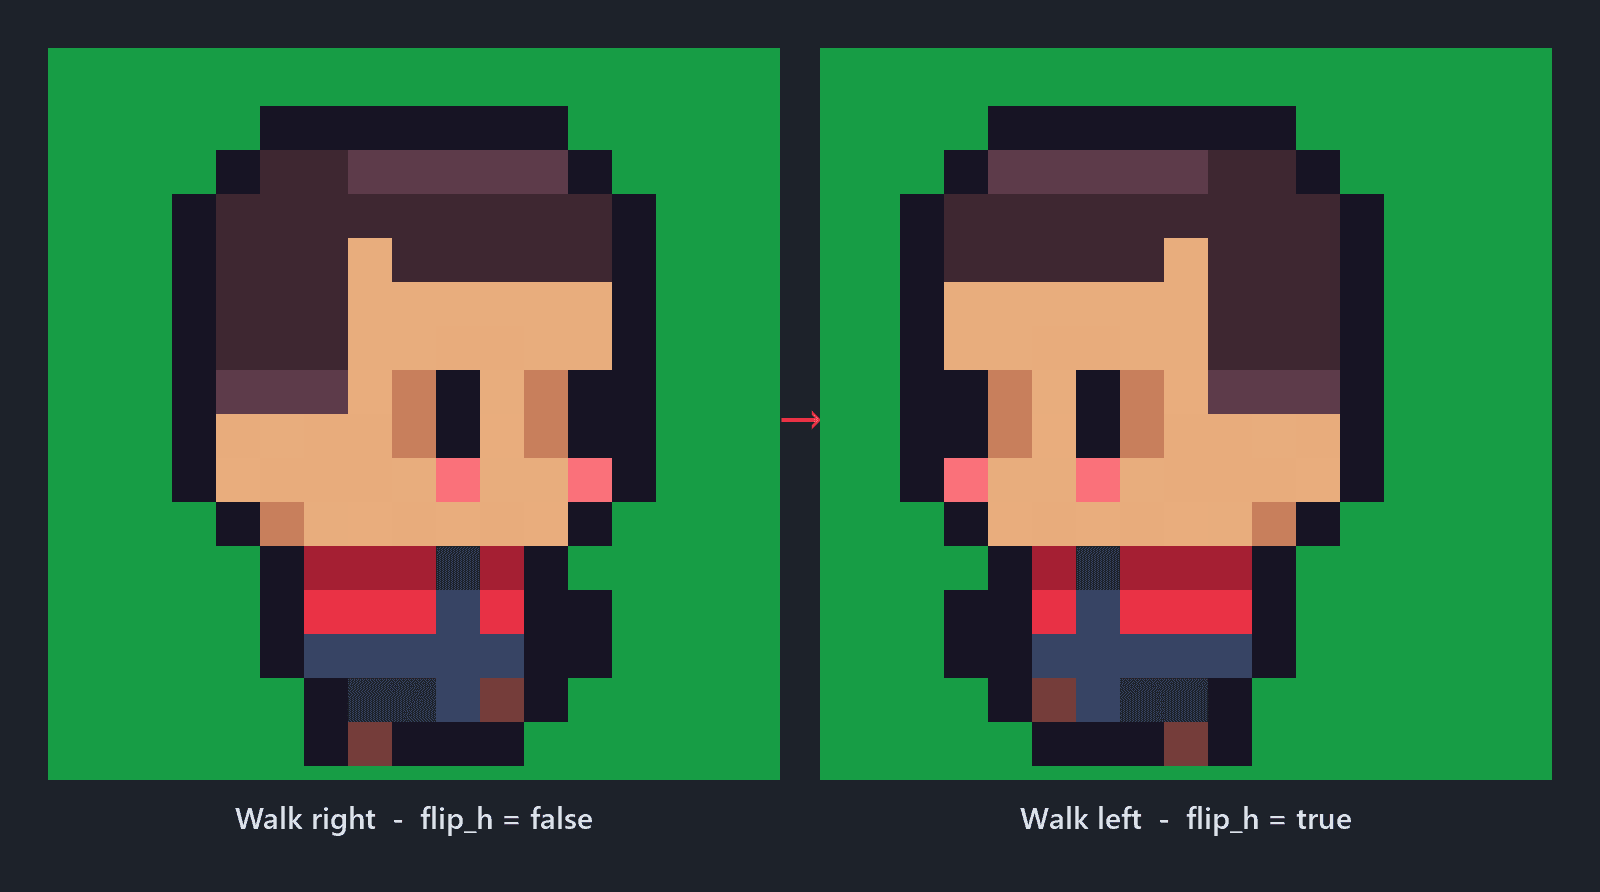
flip_h turned on.So four directions of movement come from one animation plus a boolean. The pack also ships tool, fishing and chopping animations; we'll reach for those in later parts.
Player (CharacterBody2D) ├── BaseSprite (AnimatedSprite2D) ├── HairSprite (AnimatedSprite2D) ├── CollisionShape2D └── Camera2D
Leave the collision shape empty for now.
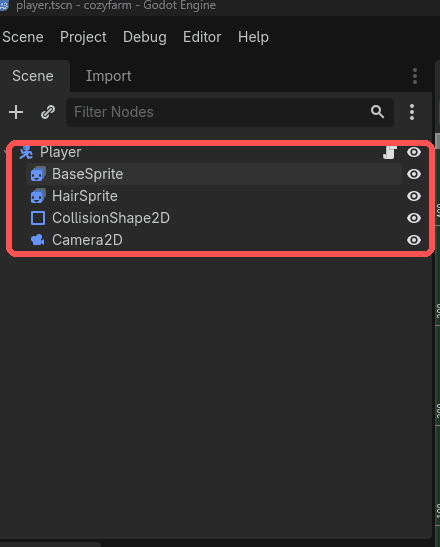
You should have the node tree above with no errors.
Create a SpriteFrames resource.
Create:
walkidleImport the matching body sprite strips.
The strips are single-row sprite sheets, so each frame is a slice of one image. Frame size is 96 x 64.
idle -- base_idle_strip9.png, 9 frameswalk -- base_walk_strip8.png, 8 framesConfigure both:
The number at the end of each filename tells you the frame count.
strip9means 9 frames,strip8means 8.
💡 Tip
A new SpriteFrames resource always starts with an empty animation called
default. You'll see it listed alongsideidleandwalk. Leaving it or deleting it makes no difference, as long as the script never asks for it.
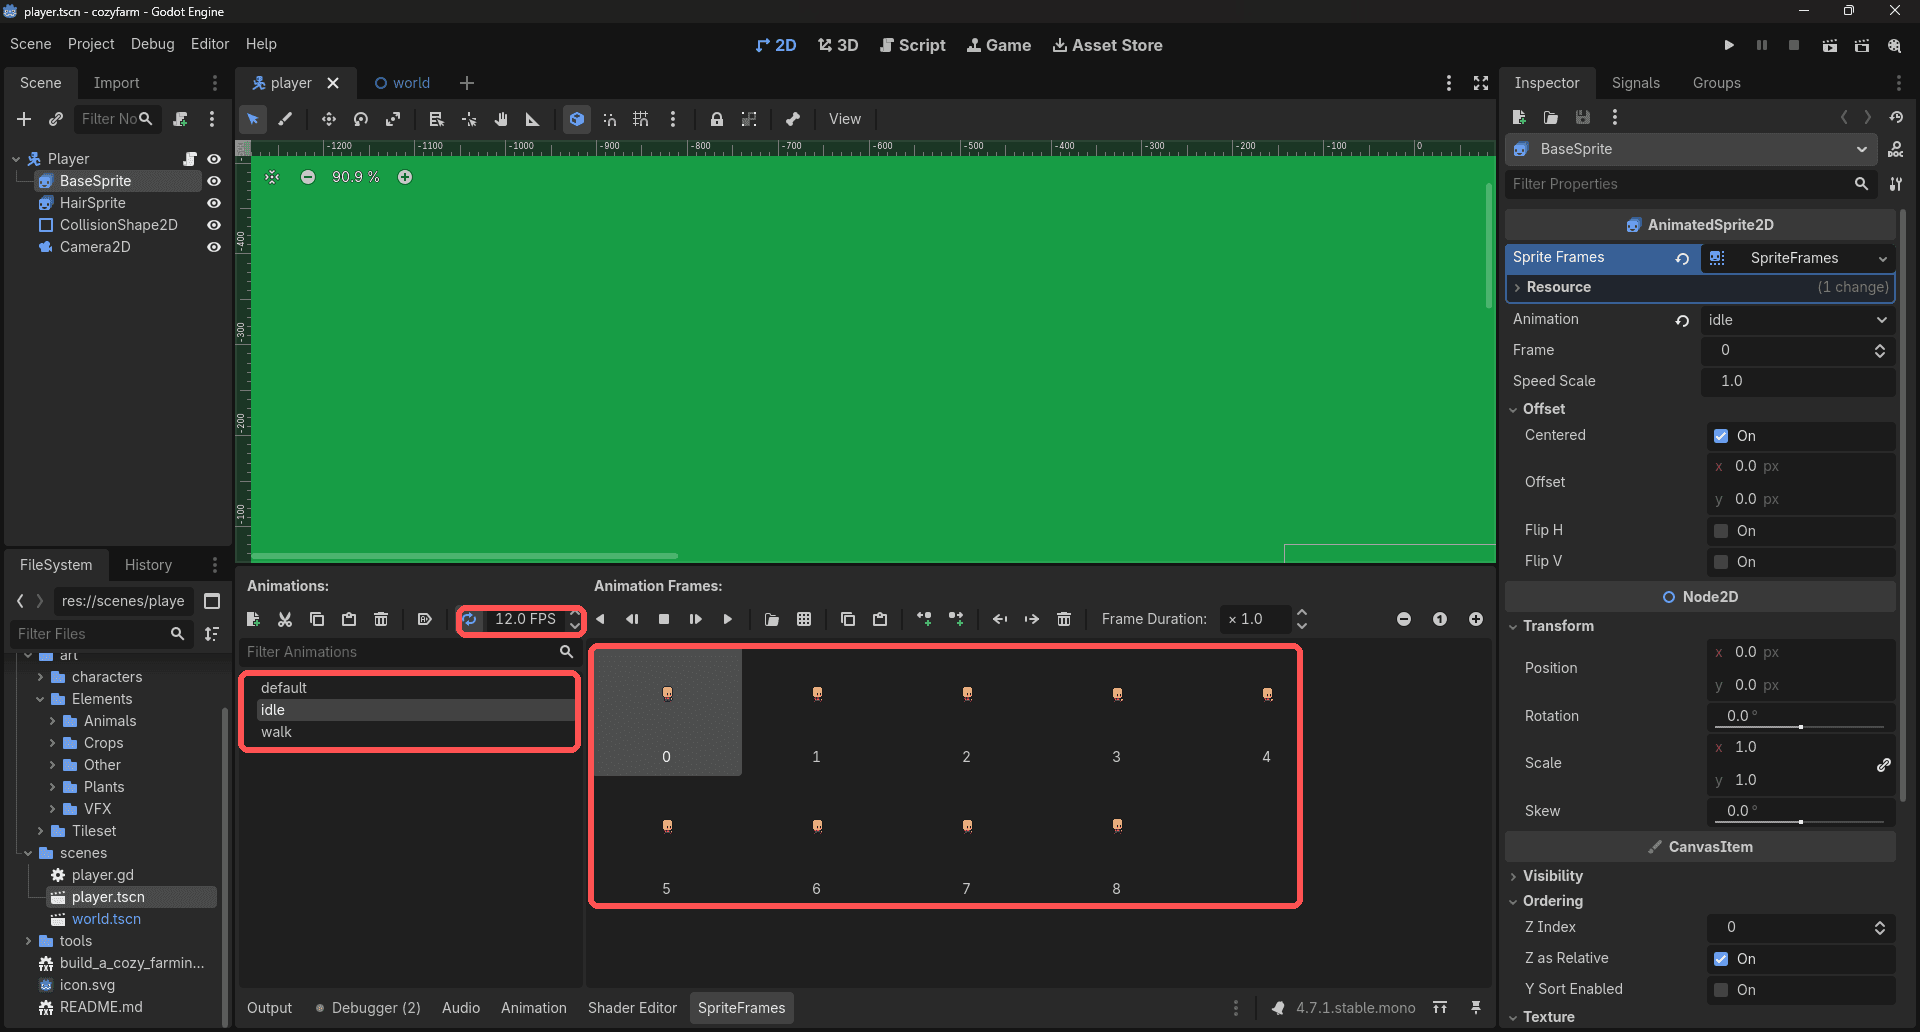
Repeat the exact same process for your chosen hairstyle.
Keep both sprites at (0, 0).
The body carries the character; the hair is a separate sprite drawn on top of it. Because both play the same animation names in lockstep, you can swap hairstyles later without touching the movement code at all.
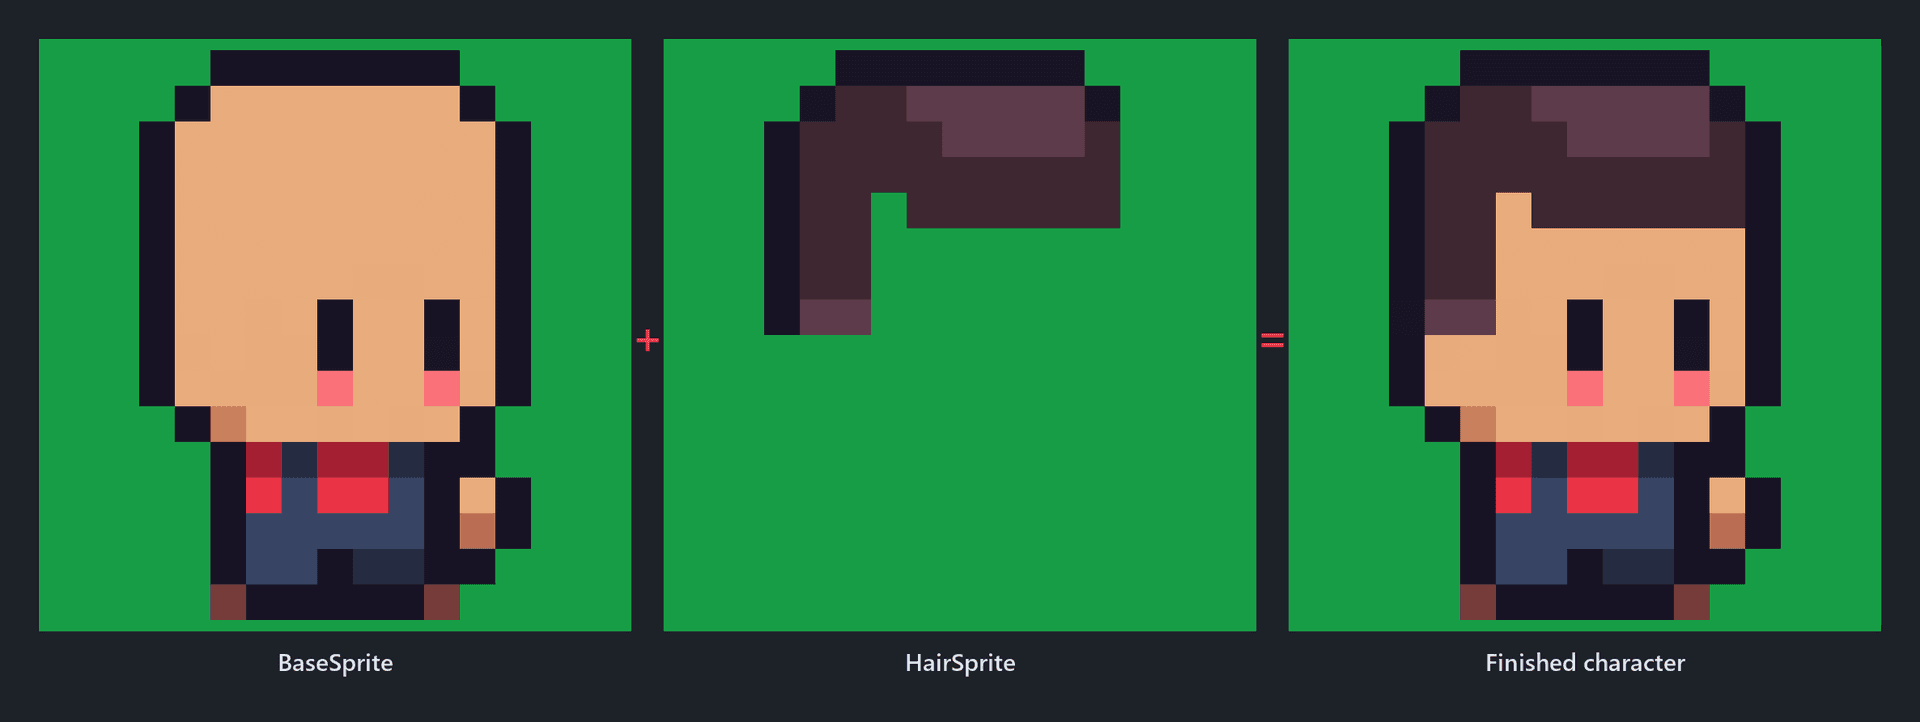
The finished player should look correct.
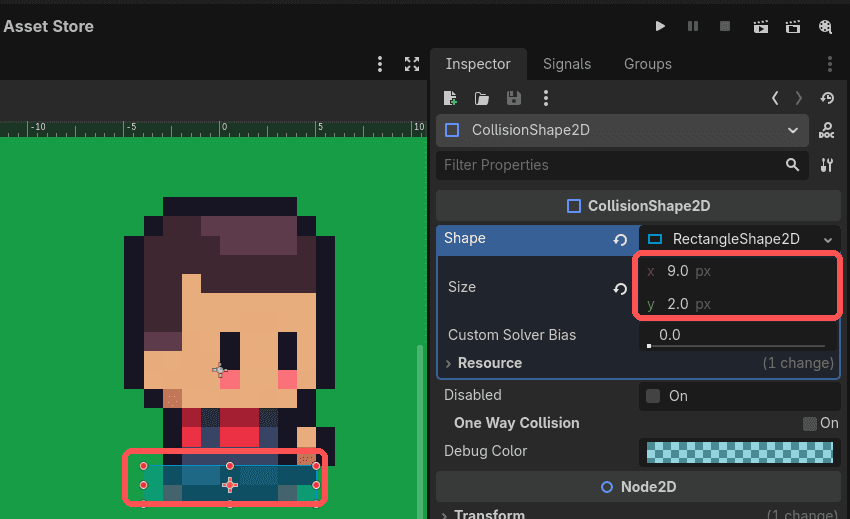
Now that the player is visible, add a RectangleShape2D.
Keep the collision around the feet instead of the whole body.
The values used here are:
That height of 2 looks alarmingly thin in the Inspector, but it is doing
exactly what we want: it is a footprint, not a body. Anywhere from 2 to 8
feels fine, so go lower for tighter, more precise movement around scenery, higher
if you want the player stopped further from it. Adjust visually.
📌 Why this matters
A collision box that covers the whole sprite makes a top-down character feel like a fridge. Keeping it at the feet is what lets the player tuck in behind trees and walk close to scenery without snagging on it.
The collision only covers the player's feet.
Create:
Bind WASD and the arrow keys.
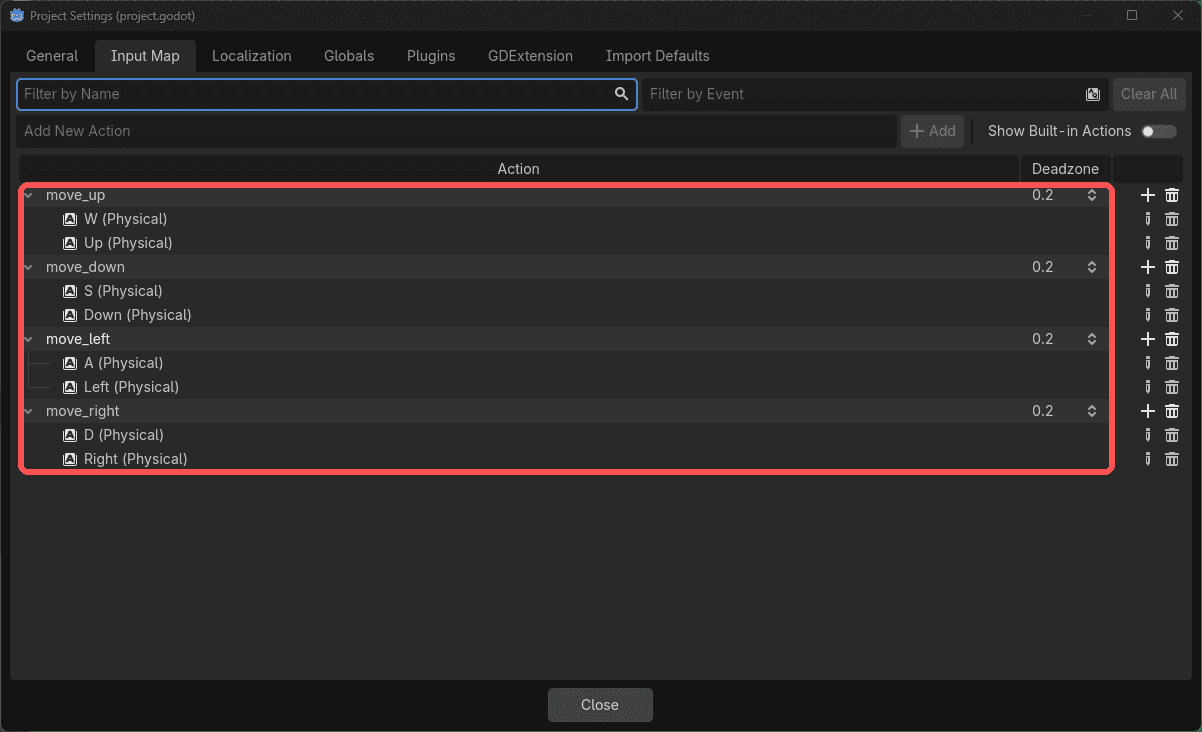
All four actions exist in the Input Map.
Attach a script to the Player node:
extends CharacterBody2D

@export var speed := 100.0

@onready var base_sprite = $BaseSprite
@onready var hair_sprite = $HairSprite

func _ready():
	play_character_animation("idle")

func _physics_process(delta: float):
	var direction = Input.get_vector("move_left", "move_right", "move_up", "move_down")

	velocity = direction * speed
	move_and_slide()

	update_animation(direction)

func play_character_animation(name: StringName):
	if base_sprite.animation != name:
		base_sprite.play(name)

	if hair_sprite.animation != name:
		hair_sprite.play(name)

func update_animation(direction):
	if direction != Vector2.ZERO:
		if direction.x < 0:
			base_sprite.flip_h = true
			hair_sprite.flip_h = true
		elif direction.x > 0:
			base_sprite.flip_h = false
			hair_sprite.flip_h = false

		play_character_animation("walk")
	else:
		play_character_animation("idle")
Three things are worth pulling out of that.
Input.get_vector() does the hard part. It reads all four actions and hands
back a direction vector that's already normalised, so diagonal movement isn't
faster than straight movement, a bug you'd otherwise have to find and fix.
play_character_animation() drives both sprites. It's the one place that
knows the character is made of two layers. The if guards matter: calling
play() every frame would restart the animation every frame, and the character
would freeze on frame 0.
_ready() is what starts the idle. AnimatedSprite2D does not begin
animating on its own, and until play() is called it just displays whichever frame
it's currently on.
There is no separate "walk left" animation. Left is the same walk animation
with flip_h turned on for both sprites, which is what update_animation()
is doing:
⚠️ Common mistake
Player not animating? Check that
_ready()callsplay_character_animation("idle"). Setting the animation in the Inspector only picks which one is selected, and it doesn't start playback.
The player is already idling before you press any keys.
Create:
World (Node2D) ├── Grass (Node2D) ├── Decorations (Node2D) ├── Crops (Node2D) └── Player (instance of player.tscn)
Grass, Decorations and Crops are plain Node2Ds used purely as folders.
They'll stay empty-ish for now, but grouping things from the start means Part 2 has
somewhere obvious to put the tilemap without a reshuffle.
Use a simple green background for now. The quickest way is Project Settings > Rendering > Environment > Default Clear Color.
Add one or two animated trees (or mushrooms) using AnimatedSprite2D. The
setup is identical to the player's, a SpriteFrames resource with the strip
sliced into frames:
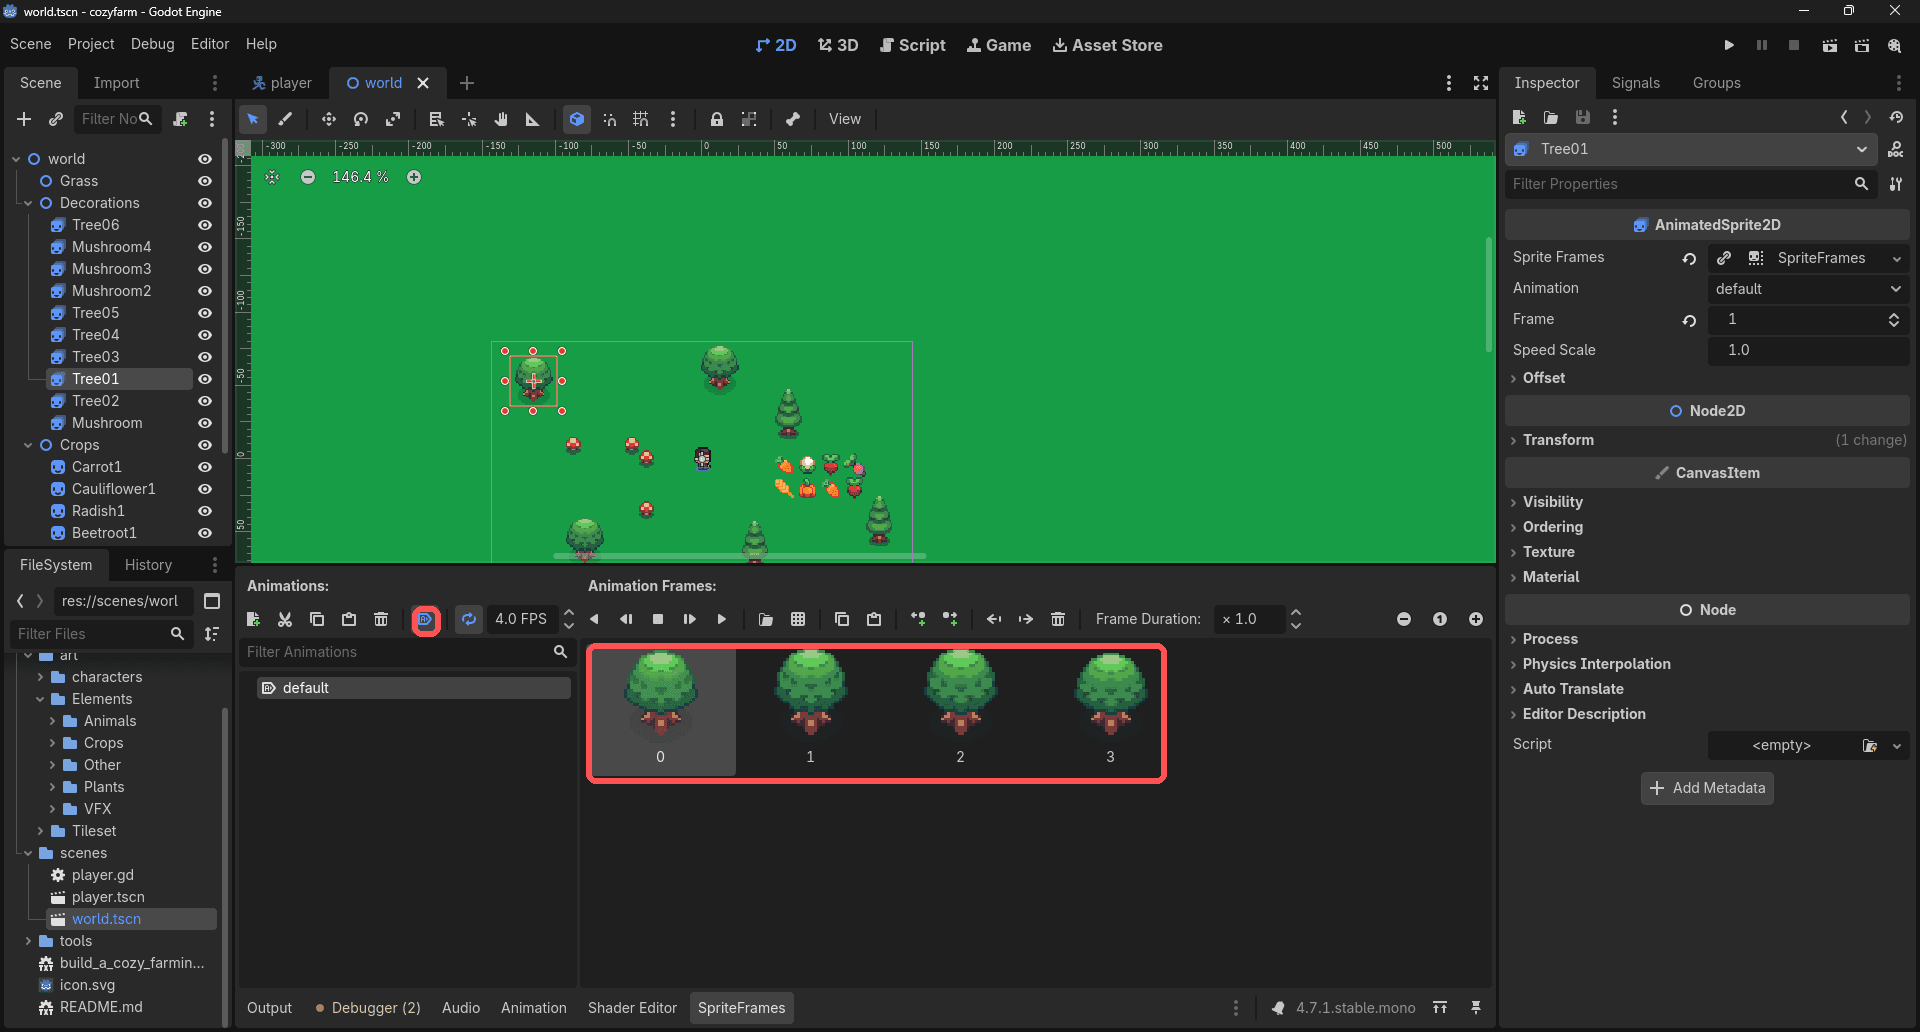
Enable looping and either:
play() on it inside _ready().Autoplay is the easier option here, and it's why the decorations animate in the
editor as well as at runtime. Note the tree's animation is called default.
These decorations only have one animation, so there's no reason to rename it.
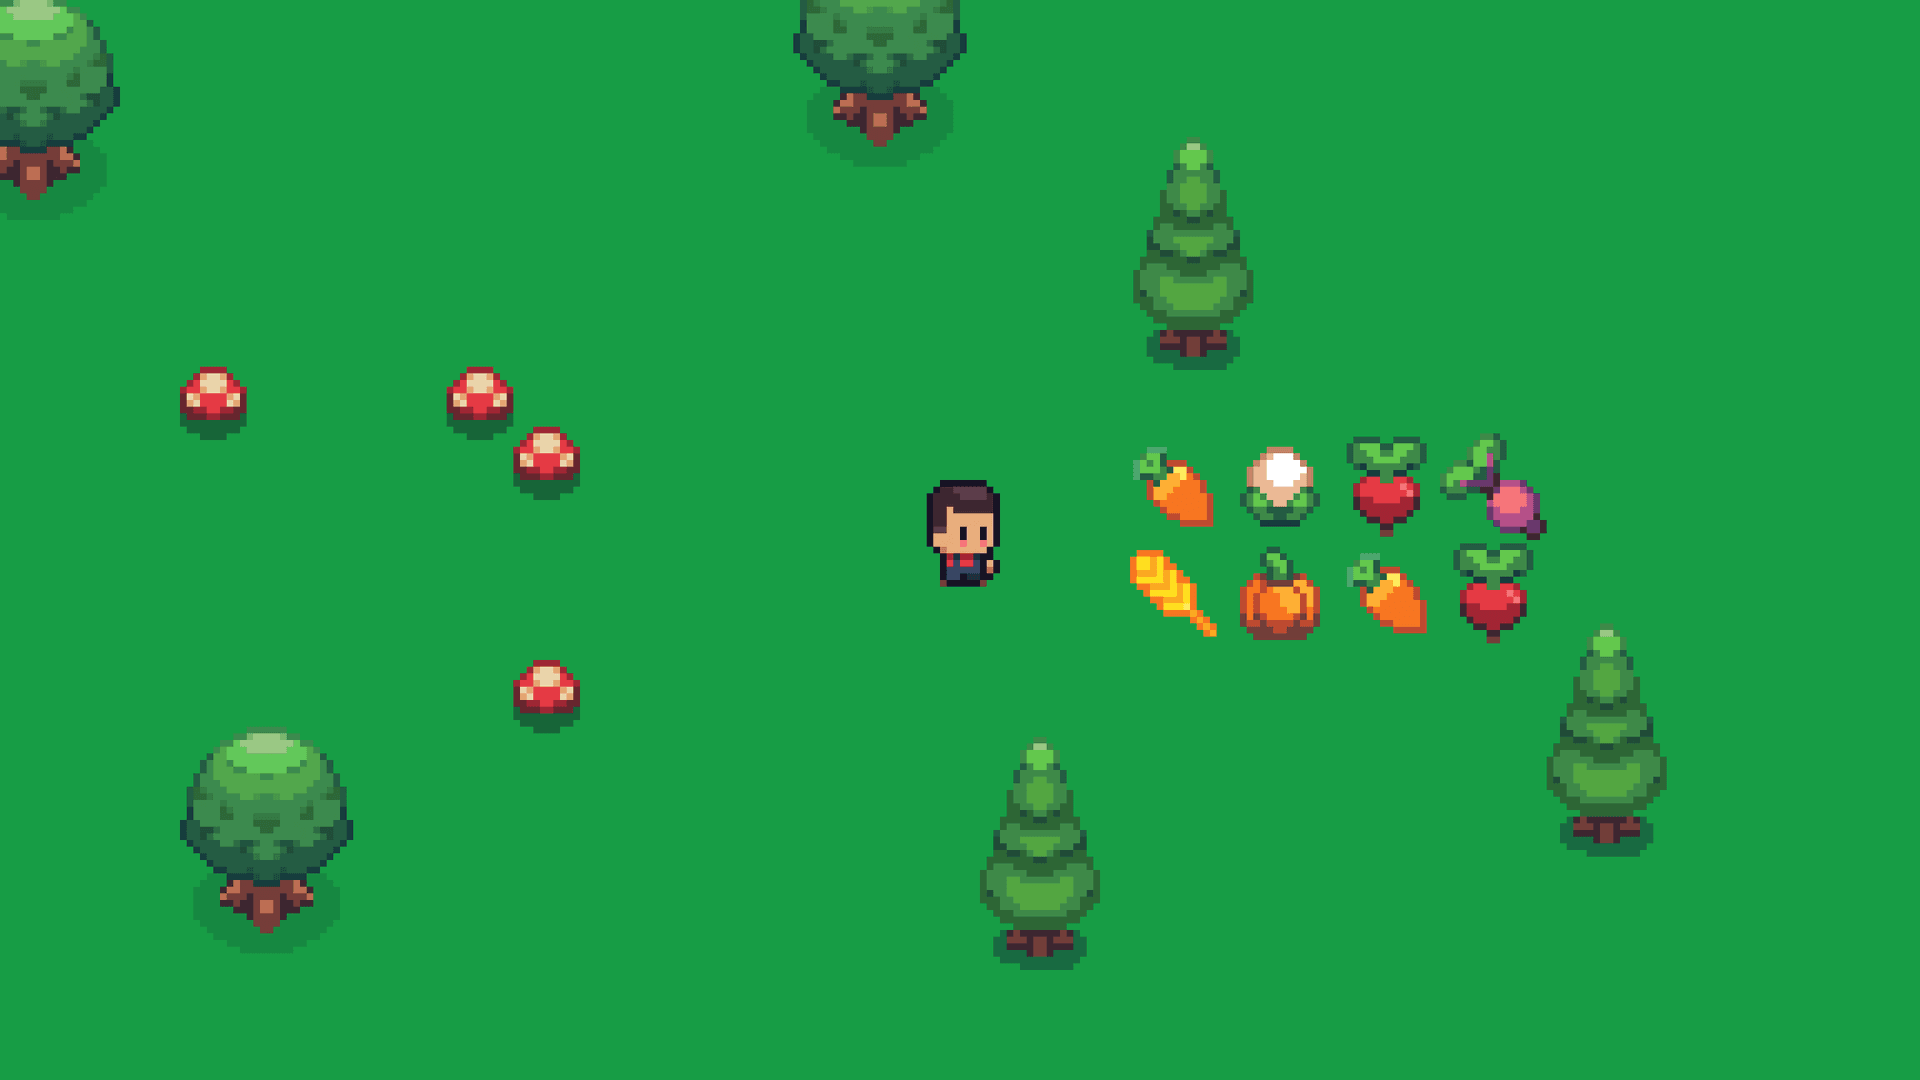
Once those work, decorate the scene with anything else from the asset pack that you like:
Don't spend too much time here---this scene is temporary and will be replaced with a proper TileMap in Part 2.
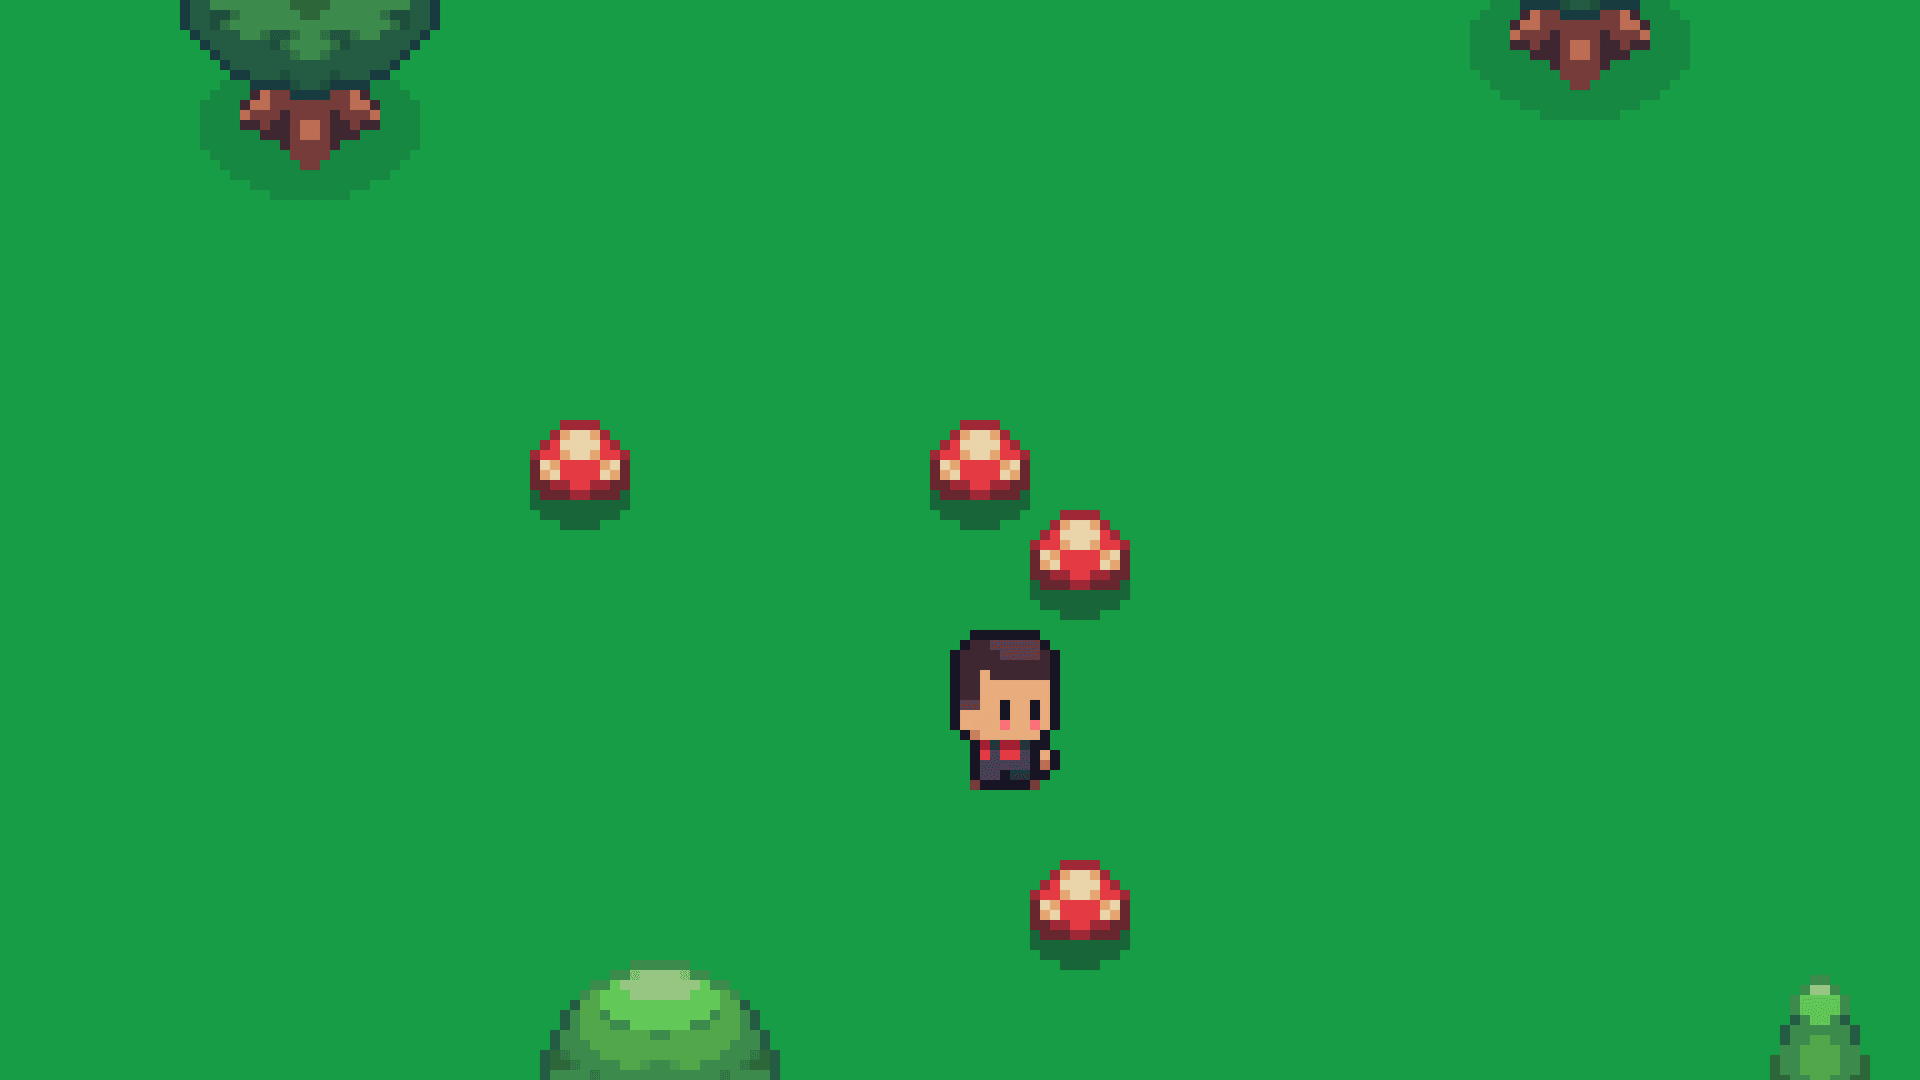
📌 Why this matters
We aren't using a TileMap yet because placing decorations by hand keeps the focus on movement. All that empty green is deliberate, since Part 2 replaces it with a real tile-based map.
Enable the Camera2D.
Try:
Zoom X: 4 Y: 4
Adjust until it feels comfortable.
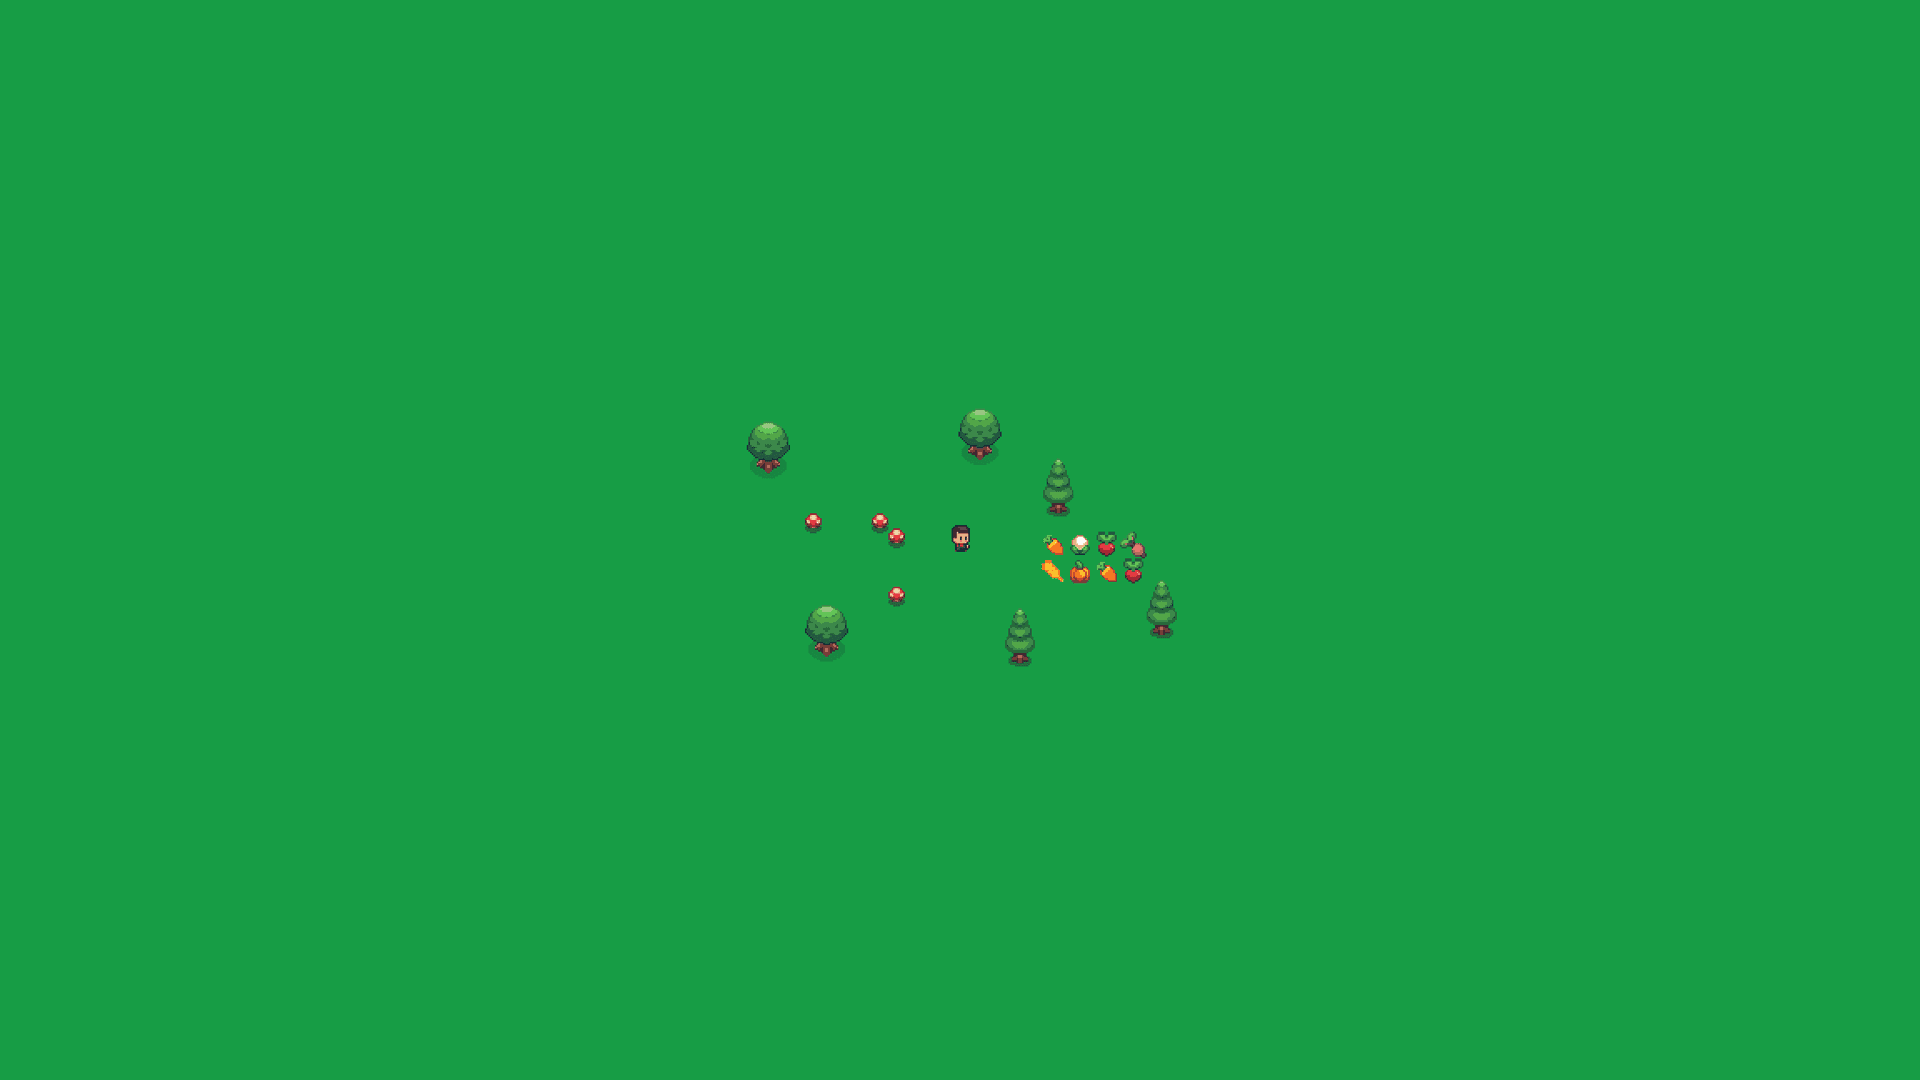
At zoom 1, the character is lost on screen:
At zoom 4, cozy:
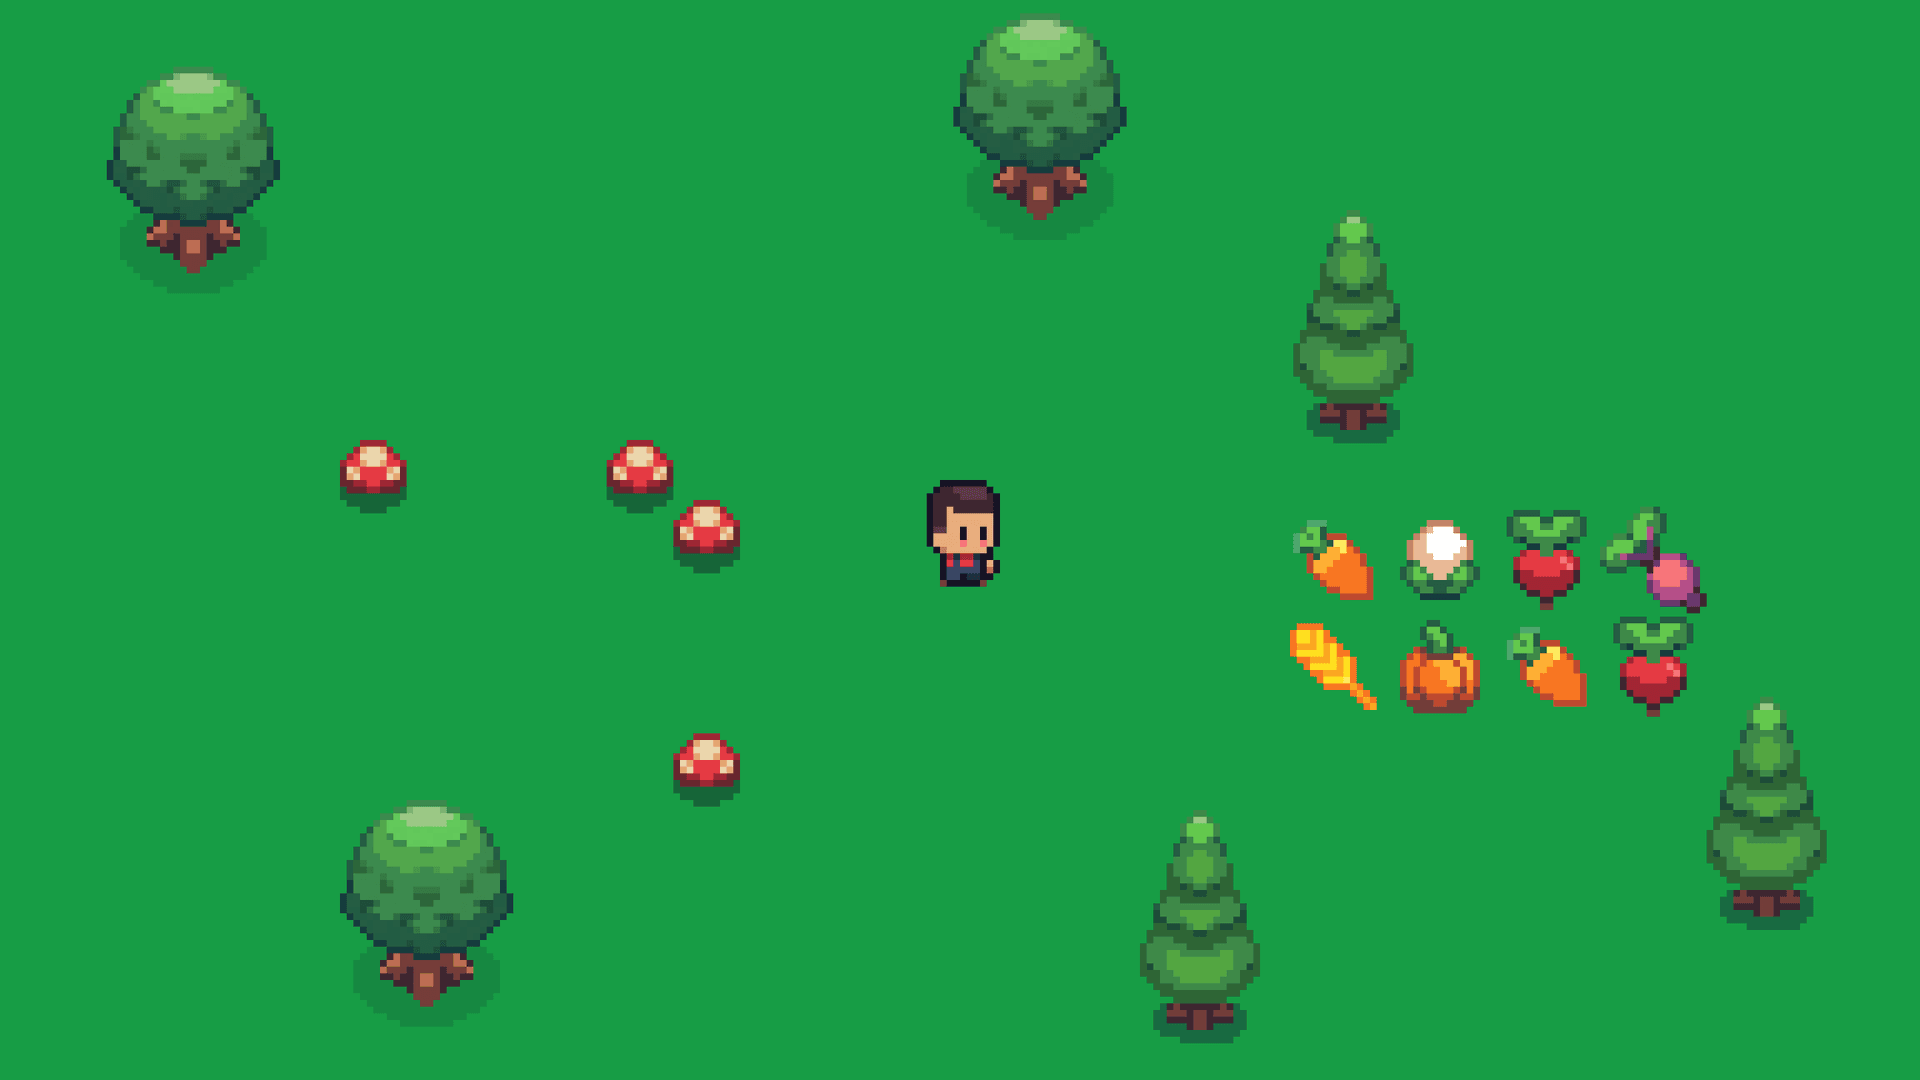
The character fills a reasonable amount of the screen and the camera follows smoothly.
Before moving on to Part 2:
Now that movement is finished, we've hit the first pain point:
Building terrain by hand doesn't scale.
In Part 2 we'll solve that by introducing Godot's TileSet and TileMapLayer systems, replacing our temporary scene with a real farm that we can continue expanding throughout the rest of the series.