Build a Cozy Farming Game in Godot 4: Part 2 -- Building Your First TileMap
AdminAugust 15, 202611 min read
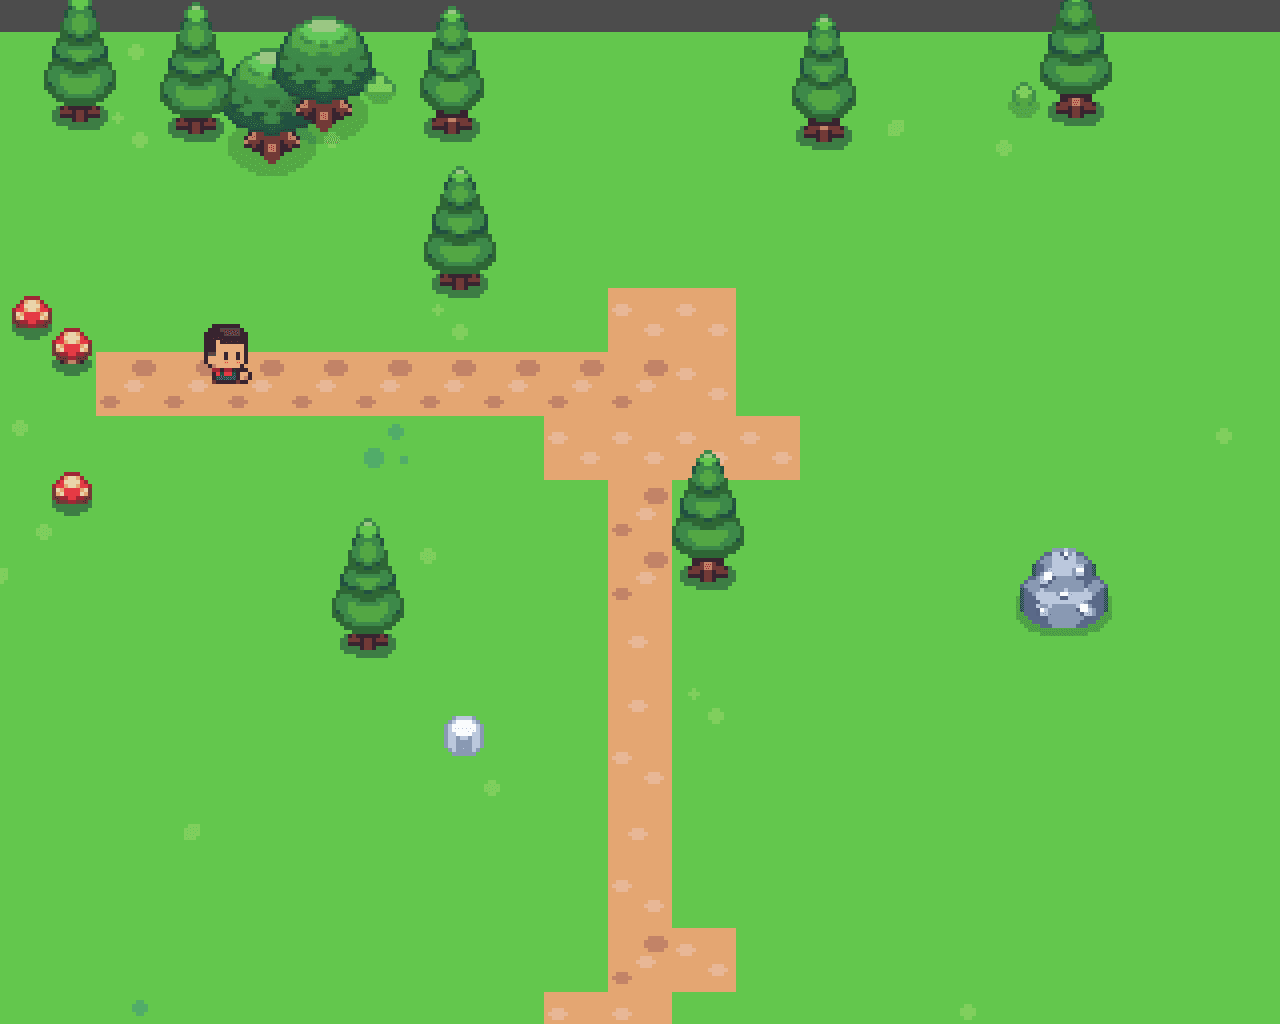
What you'll build: A real tile-based farm to replace Part 1's temporary scene, plus the scene organisation and level-design habits that stop a project turning into a junk drawer later.
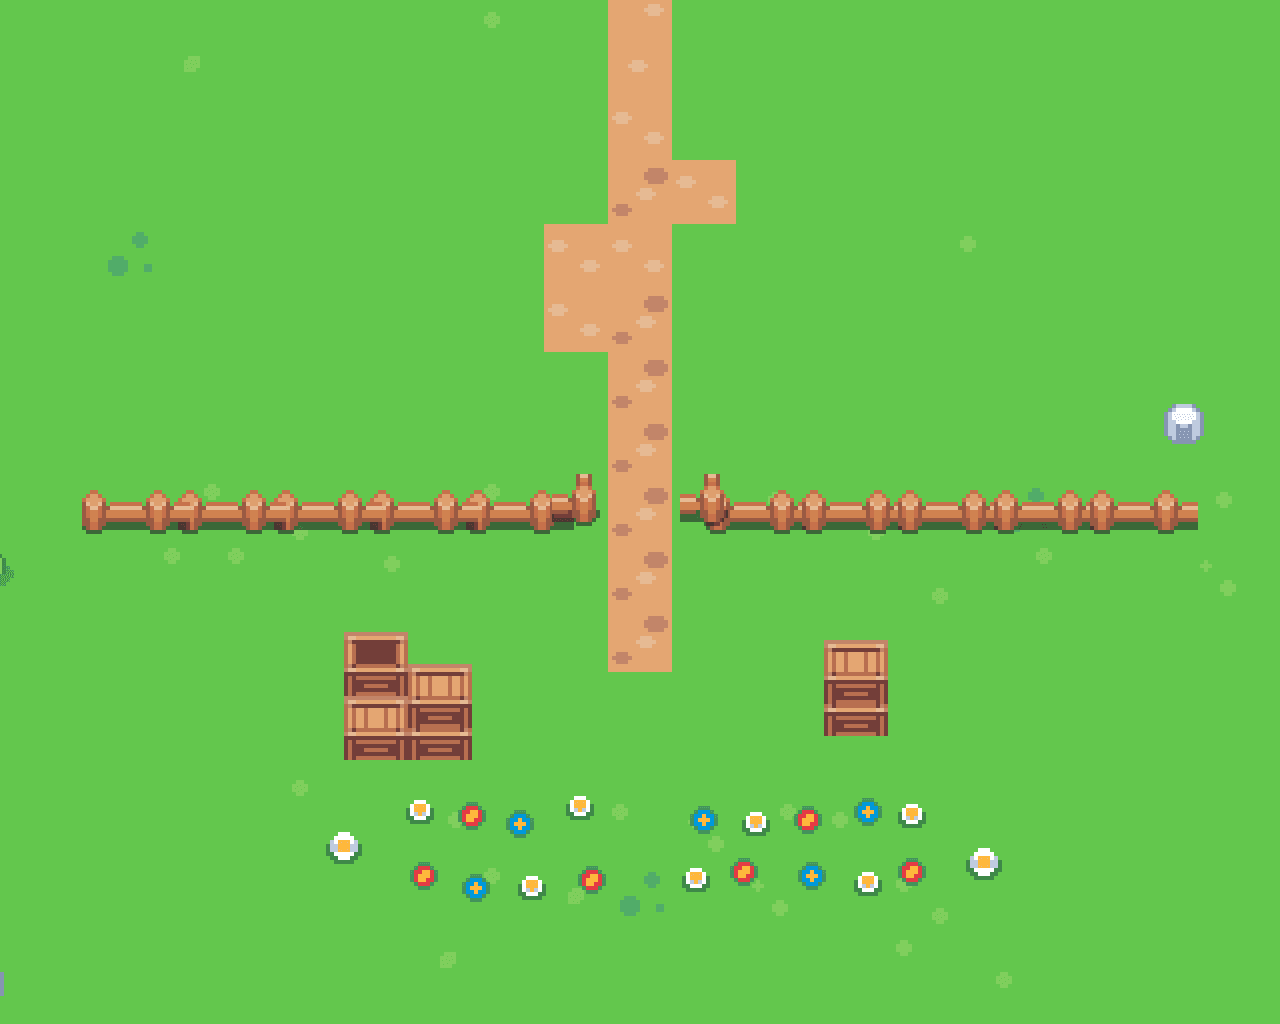
Still Sunnyside World by Daniel Diggle.
Download: https://danieldiggle.itch.io/sunnyside
Part 2 uses art/Tileset/spr_tileset_sunnysideworld_16px.png, a 1024 x 1024
sheet of 16 x 16 tiles.
Finish Part 1 first, or start from the Part 1 tag in the repo.
GitHub: https://github.com/jpDxsolo/cozyfarm
At the end of Part 1 we had a playable character walking around a scene we decorated by hand. It worked, and it was the right way to learn movement.
But try to build an actual farm that way and the cracks show immediately.
Every patch of ground is a separate node. A hundred tiles of grass is a
hundred Sprite2Ds in your scene tree. Want to move the whole field two
metres left? Select a hundred nodes and pray.
Hand placement is fine for a handful of landmarks. It does not scale to terrain.
📌 Why this matters
Notice that we did not start with TileMaps. We built the wrong thing first, on purpose, until it hurt. That is genuinely how you should learn a new engine: feel the problem, then learn the tool that solves it. A tutorial that opens with "now configure your TileSet" teaches you which buttons to click but not why the feature exists.
Godot splits this into two ideas, and mixing them up is the single most common source of confusion.
A TileSet is the palette. It is a resource that says "here is an image, here is how to slice it, and here is what each tile means." It contains no level data at all.
A TileMapLayer is the canvas. It is a node that holds which tile sits at which grid coordinate. It stores nothing about what those tiles look like.
TileSet the palette (a Resource, shared) ↓ TileMapLayer the canvas (a Node, per layer)
The split pays off the moment you want a second layer. Ground, then a layer of things drawn on top of the ground, then a collision layer, all sharing exactly one palette. Change the palette once and every layer updates.
💡 Tip
If you have followed older Godot 4 tutorials you may have seen a
TileMapnode with layers inside it. That was deprecated in Godot 4.3. SeparateTileMapLayernodes are the current approach, and they are much easier to reason about because each one is a normal node you can show, hide, move and reorder.
Open world.tscn. Delete the Grass placeholder node from Part 1 if you
still have it.
Add a TileMapLayer as a child of World and name it Ground.
World ├── Ground (TileMapLayer) ├── Decorations └── Player
Make sure Ground sits above Player in the scene tree. Godot draws 2D
siblings top to bottom, so anything listed after Ground renders on top of
it. Get this backwards and your character walks underneath the grass.
You have a Ground node selected, and Godot is telling you it has no TileSet
yet. That is expected.
With Ground selected, find the Tile Set property in the Inspector and
create a New TileSet.
Click it to expand, and confirm:
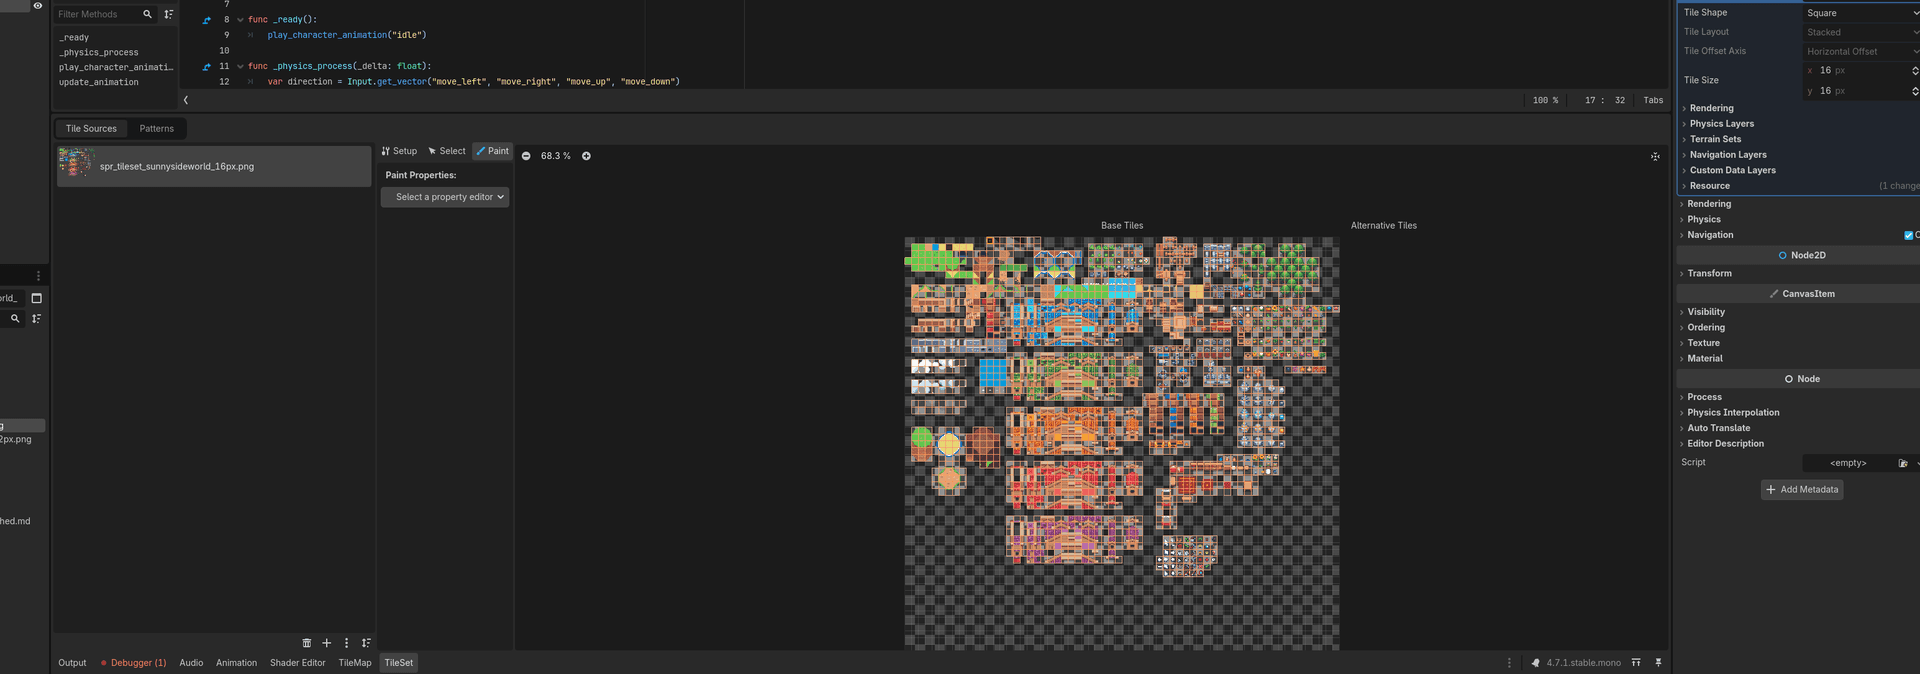
Now open the TileSet panel at the bottom of the editor. Drag
spr_tileset_sunnysideworld_16px.png into the sources list on the left.
Godot will offer to scan the image for tiles automatically. Say yes. It walks the sheet and creates a tile for every 16 x 16 cell that is not fully transparent, which for this pack is around 1700 tiles.
⚠️ Common mistake
If your tiles come out sliced across the seams, your Tile Size does not match the art. This pack is 16 x 16. Godot's default is also 16 x 16, so it usually just works, but any pack you buy will tell you its tile size and it is the first thing to check when a tileset looks scrambled.
The TileSet panel shows the whole sheet carved into a neat grid, with no tile straddling two pieces of art.
Switch to the TileMap panel (next to TileSet at the bottom), pick the plain grass tile, and paint.
For reference, the map in the repo is 30 x 40 tiles. That is far larger than one screen at our camera zoom, which is deliberate: we want somewhere to walk to.
Useful while painting:
Once the grass is down, delete the temporary background colour from Part 1. It was Project Settings > Rendering > Environment > Default Clear Color, and now that real ground covers the screen it only shows through as an ugly edge when the camera runs past the map.
A solid field of grass. Press F5 and walk around on it.
Pick the dirt tiles and draw a path across the grass.
Do not draw a straight line from corner to corner. Draw a path that goes somewhere, because a path is the cheapest way to tell a player where to go. Ours runs east to west across the top of the map, then turns and heads south.
We will give it a destination in section 9.
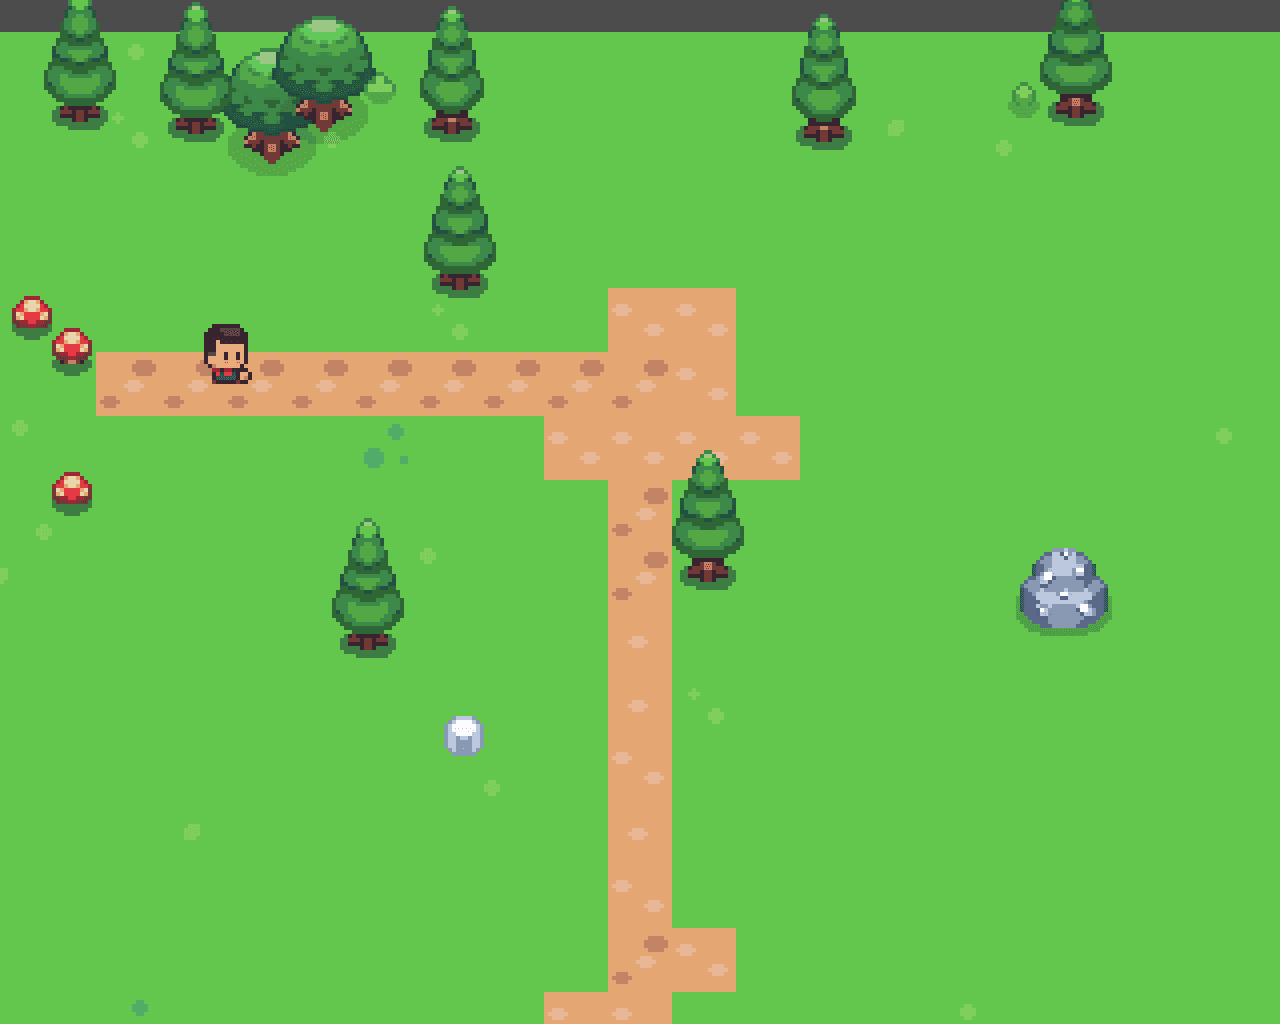
You can walk along the path. It reads as a route, not a decoration.
A field of one repeated tile reads as wallpaper. Most tilesets ship a few grass tiles with a tuft or a pebble drawn on them, and sprinkling those in breaks the repetition.
Use them sparingly. A good starting point is under ten percent of your grass cells, clustered near things: around tree trunks, beside rocks, along the edge of the path. Scatter them evenly across the whole map and you just get a different, noisier wallpaper.
Here is something no tutorial warned me about, and it looks like a bug in your eyes rather than a mistake in your map.
This tileset has two grass shades. They are one RGB step apart and identical to the naked eye in isolation:
(1,1) is (95, 193, 76)(2,1), and every single detail variant, is (99, 199, 77)So if you paint your field with (1,1) and then sprinkle in the detail tiles,
each one lands on a background that does not match, and every variant shows up
as a visible square:
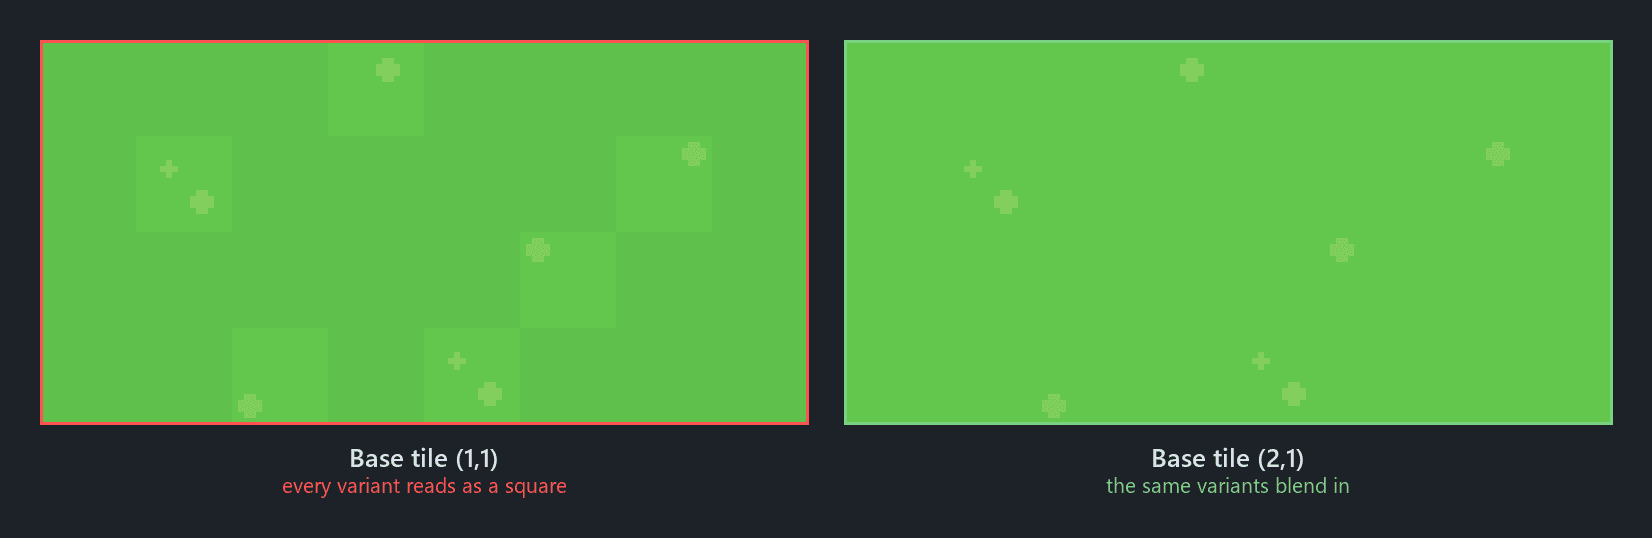
The fix is to paint the base field with (2,1) instead. On its own the shift
is imperceptible. What matters is that the field and the details agree.
📌 Why this matters
The lesson generalises well beyond this pack. When a tileset gives you a plain tile and a set of detail tiles, they belong to a family, and the plain one you started with may not be the head of that family. If detail tiles ever look like stickers, put the two side by side and compare the background pixels before you assume your eyes are playing tricks.
The grass has texture, and no variant reads as a square patch.
Right now everything decorative is probably in one flat pile:
World ├── Ground ├── Decorations │ ├── Tree01 │ ├── Mushroom01 │ ├── Rock01 │ └── ... └── Player
Split it up before it gets big:
World ├── Ground (TileMapLayer) ├── Decorations (Node2D) │ ├── Trees (Node2D) │ ├── Nature (Node2D) │ └── Props (Node2D) └── Player
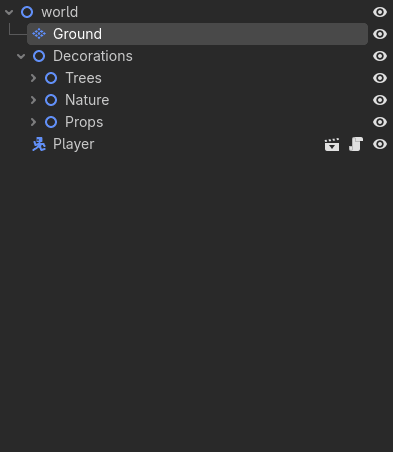
This is overkill for the twenty or so objects you have today. Do it anyway.
📌 Why this matters
Grouping buys you three things immediately, and you will use all of them. You can hide a whole category with one click while you work on another. You can select every tree at once. And when Part 3 adds collisions, "give every prop a collider" becomes a loop over one node's children instead of a hunt through a flat list of two hundred siblings.
Structure is cheap to add now and expensive to retrofit. This is the single habit that most separates a project that survives to Part 7 from one that collapses under its own scene tree.
Your decorations live in three groups, and hiding Trees hides only trees.
We now stop thinking like people learning TileMaps and start thinking like level designers. The tool is learned. What remains is taste, and taste is mostly a few repeatable moves.
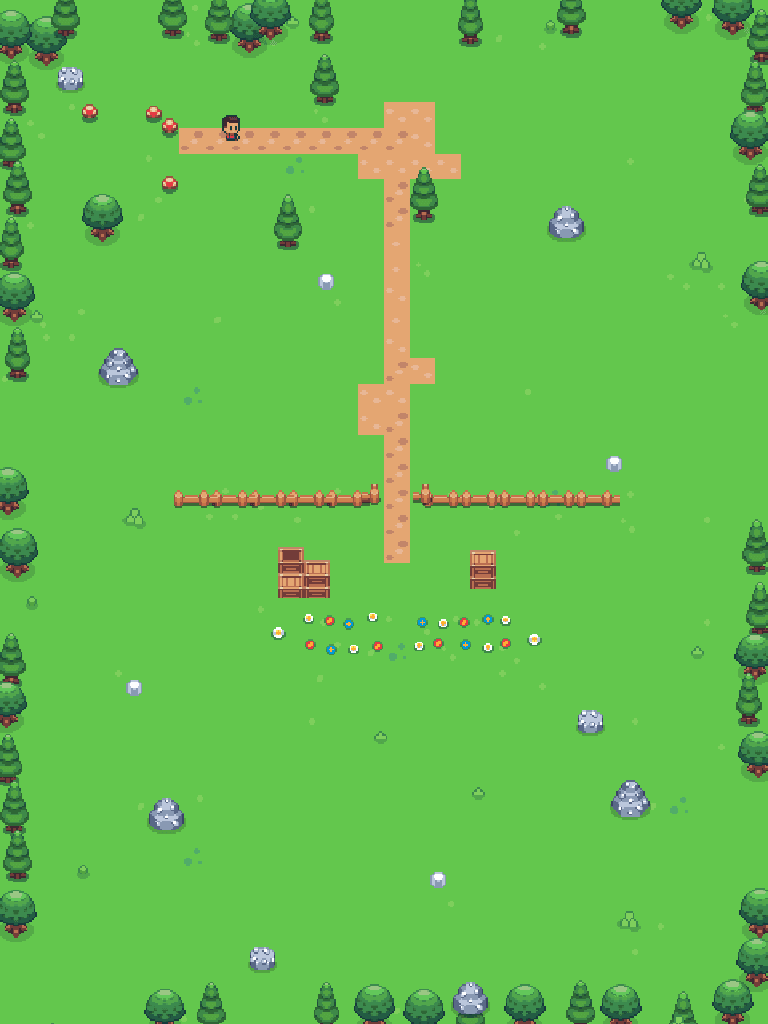
A path that ends in empty grass is a corridor to nowhere. Put something at the end of it. We built a farm entrance: a fence running across the map with a two-tile gap exactly where the path arrives, crates stacked just inside, and flower beds behind them.
Line the gap up with the path properly. A gate that is one tile off centre looks like a mistake, and players read it as one.
Run trees along the boundary of the map, but leave gaps and jitter their positions. A solid unbroken line reads as a fence you are not allowed to touch. A broken line reads as woodland, and the player fills in the rest.
🌲 🌲 🌲 🌲 🌲
🌲 🙂 🌲
🌲 🌲 🌲 🌲
Nothing here is stopping the player yet. Collisions come in Part 3. For now we are only making the world look like it has edges.
Every good little scene has one thing worth walking towards. A crop patch, a pond, a bridge, stacked crates, a flower garden. One is enough.
Two features are sitting right there in the TileSet panel, and we are walking past both.
Terrain Sets (autotiling) let Godot pick the correct edge tile so your dirt path blends into the grass automatically. They are genuinely great, and they are also fiddly to configure, easy to get subtly wrong, and completely unnecessary for a path made of one tile. They get their own article.
Cliffs, water and bridges need elevation, which changes how you think about the whole map. Not in a beginner's second tilemap.
📌 Why this matters
Knowing which features to skip is a real skill. Every one you adopt is something you have to understand, debug and maintain. Adopt them when you feel the problem they solve, exactly like we did with TileMaps in section 1.
Before moving on to Part 3:
Ground is a TileMapLayer with a TileSet built from the atlas.We have a world that looks like a place. It does not yet behave like one.
You can walk through the fence. You can stand inside a tree. The crates are scenery, not objects.
In Part 3 we will fix that: collision shapes on the props, a proper
YSort so the player passes behind trees instead of over them, and the first
piece of real interaction, walking up to something and pressing a key to use
it.