Build a Code Editor Like VS Code, Part 4: The Terminal
AdminJune 25, 20267 min read
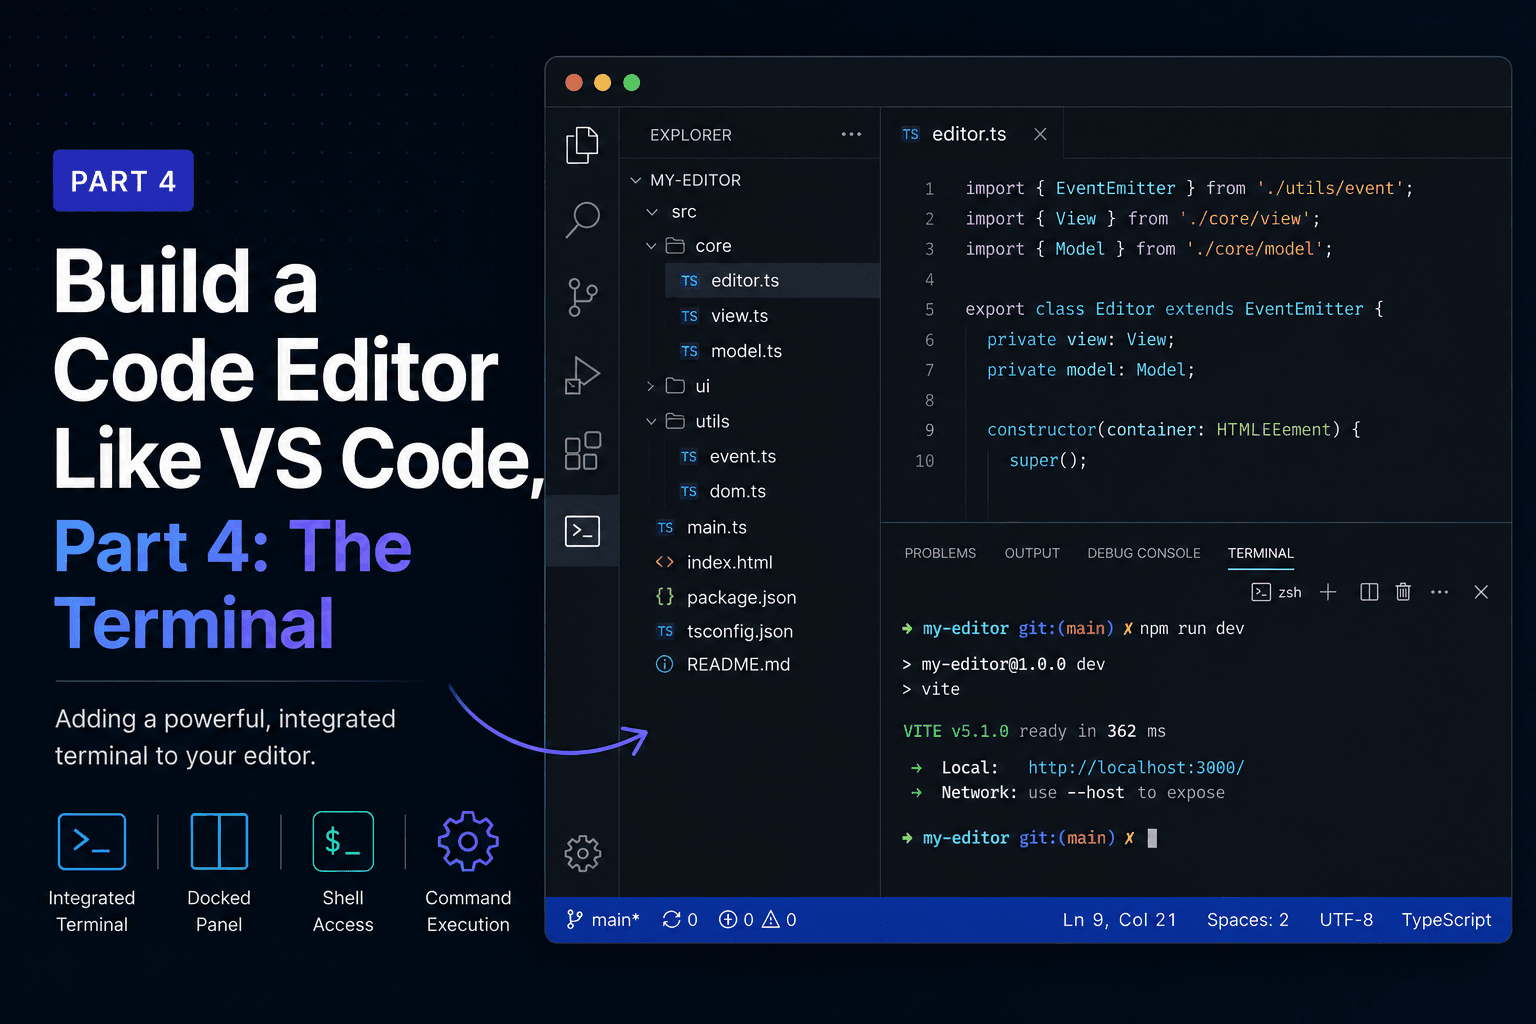
The terminal is the part that makes this feel like a real editor instead of a fancy text box. In this part we fill the bottom pane with a working shell: type commands, run programs, see colored output, all inside our app.
This is the most involved part of the series so far, for two reasons. We introduce a native module, node-pty, which behaves differently from a normal npm package and needs an extra build step. And we move past the request-and-response IPC from Part 3 into a genuine two-way stream, because a terminal is a conversation, not a single question.
A terminal in an app is really two cooperating pieces.
The first is a pseudoterminal, or PTY. This is an operating system feature: a fake terminal device that a shell process like bash or zsh or PowerShell attaches to, believing it's talking to a real terminal. It's what lets programs do things like detect width for wrapping, or show a progress bar that updates in place. In Node we get one through node-pty, and because spawning processes is privileged, this lives in the main process.
The second is the renderer, the visible grid of characters that draws output and captures your keystrokes. That's xterm.js, the same terminal frontend VS Code uses, and it runs in the UI.
The two are wired together by a stream of bytes. Whatever you type goes from xterm.js to the PTY's input. Whatever the shell prints comes back from the PTY to xterm.js, which draws it. Our job is to run that stream across the IPC bridge.
xterm.js ships as scoped packages now, the core terminal plus a fit addon that sizes it to its container.
npm install @xterm/xterm @xterm/addon-fit
npm install node-pty
node-pty is a native module. It contains C++ that has to be compiled against the exact version of Node that Electron embeds, which is usually not the same as the Node on your machine. So after installing it, rebuild it for Electron.
npm install --save-dev @electron/rebuild
npx electron-rebuild -f -w node-pty
If you skip this step, the app will start and then throw an error the moment it tries to load node-pty, complaining about a wrong NODE_MODULE_VERSION. That error message is the signature of a native module built for the wrong runtime, and the rebuild command is the fix.
Two more things make native modules behave. node-pty must be in dependencies, not
devDependencies, so it gets packaged with the app later. And it must not be bundled
by Vite, since you can't bundle a compiled binary. The good news is that the
electron-vite template already handles the second point: its config uses
externalizeDepsPlugin() for the main process, which leaves everything in
dependencies external instead of trying to bundle it. As long as node-pty is a
real dependency, it's left alone.
In Part 3 every interaction was a question with one answer, which is what
ipcMain.handle and ipcRenderer.invoke are built for. A terminal doesn't fit that
mold. The shell sends output whenever it wants, including long after you typed
anything, so there's no single response to wait for.
For that we use the other half of Electron IPC: send and on. These are
fire-and-forget messages that flow in one direction and can be sent any number of
times. We use them in both directions:
pty:start, pty:input, pty:resize.pty:data for output, sent over and over as the shell prints.That pair of one-way channels is what turns IPC into a duplex stream.
Add a terminal module that owns the PTY. It listens for a start message, spawns the right shell for the platform, and then pipes the PTY's output back to whoever started it.
src/main/terminal.ts:
import { ipcMain } from 'electron'
import * as pty from 'node-pty'
import os from 'os'

const shell =
  os.platform() === 'win32' ? 'powershell.exe' : process.env.SHELL || 'bash'

export function registerTerminal(): void {
  let term: pty.IPty | null = null

  ipcMain.on('pty:start', (event, size: { cols: number; rows: number }) => {
    if (term) return // already running for this session

    term = pty.spawn(shell, [], {
      name: 'xterm-color',
      cols: size.cols,
      rows: size.rows,
      cwd: os.homedir(),
      env: process.env as Record<string, string>
    })

    // Every chunk the shell prints gets pushed to the renderer.
    term.onData((data) => event.sender.send('pty:data', data))
    term.onExit(() => {
      term = null
    })
  })

  ipcMain.on('pty:input', (_event, data: string) => {
    term?.write(data)
  })

  ipcMain.on('pty:resize', (_event, size: { cols: number; rows: number }) => {
    term?.resize(size.cols, size.rows)
  })
}
Then call registerTerminal() once in the app.whenReady() block in
src/main/index.ts, next to the file handlers from Part 3.
A note on scope. We keep a single PTY for the session, guarded so a duplicate start message is ignored. That's all we need for one terminal in one window. Supporting many terminals later means keeping a map of PTYs keyed by an id instead of a single variable, but the channels stay the same.
The file handlers in Part 3 each returned a promise. The terminal is different,
because pty:data arrives repeatedly. So instead of returning a value, the bridge
exposes a way to subscribe to output, and it hands back an unsubscribe function so
the renderer can stop listening when the terminal unmounts.
There's also a security detail. The raw IPC event object carries references we don't want to leak into the UI, so the bridge unwraps it and passes the renderer only the data string, never the event itself.
Extend the api object in src/preload/index.ts:
import { contextBridge, ipcRenderer } from 'electron'
import { electronAPI } from '@electron-toolkit/preload'
import type { DirEntry } from '../shared/types'

type Size = { cols: number; rows: number }

const api = {
  // ...the file functions from Part 3 stay here...
  openFolder: (): Promise<string | null> => ipcRenderer.invoke('dialog:openFolder'),
  readDir: (path: string): Promise<DirEntry[]> => ipcRenderer.invoke('fs:readDir', path),
  readFile: (path: string): Promise<string> => ipcRenderer.invoke('fs:readFile', path),

  pty: {
    start: (size: Size): void => ipcRenderer.send('pty:start', size),
    input: (data: string): void => ipcRenderer.send('pty:input', data),
    resize: (size: Size): void => ipcRenderer.send('pty:resize', size),
    onData: (callback: (data: string) => void): (() => void) => {
      const listener = (_event: unknown, data: string): void => callback(data)
      ipcRenderer.on('pty:data', listener)
      // Unwrap the event; never hand the raw IPC event to the renderer.
      return () => ipcRenderer.removeListener('pty:data', listener)
    }
  }
}

if (process.contextIsolated) {
  contextBridge.exposeInMainWorld('electron', electronAPI)
  contextBridge.exposeInMainWorld('api', api)
} else {
  // @ts-ignore
  window.electron = electronAPI
  // @ts-ignore
  window.api = api
}
Update the type declaration in src/preload/index.d.ts so the renderer sees the new
surface:
import { ElectronAPI } from '@electron-toolkit/preload'
import type { DirEntry } from '../shared/types'

type Size = { cols: number; rows: number }

declare global {
  interface Window {
    electron: ElectronAPI
    api: {
      openFolder: () => Promise<string | null>
      readDir: (path: string) => Promise<DirEntry[]>
      readFile: (path: string) => Promise<string>
      pty: {
        start: (size: Size) => void
        input: (data: string) => void
        resize: (size: Size) => void
        onData: (callback: (data: string) => void) => () => void
      }
    }
  }
}Now the visible half. xterm.js is an imperative library: you create a Terminal,
open it into a DOM node, and call methods on it. React's job is just to give it a
container and manage its lifecycle, which is a textbook case for a single useEffect
that sets everything up on mount and tears it down on unmount.
The wiring inside the effect mirrors the byte stream exactly. Keystrokes from xterm
go out through pty.input. Output from pty.onData gets written into xterm. A
ResizeObserver keeps the PTY's dimensions matched to the pane, so the shell always
knows how wide it can draw.
src/renderer/src/terminal/TerminalPane.tsx:
import { useEffect, useRef } from 'react'
import { Terminal } from '@xterm/xterm'
import { FitAddon } from '@xterm/addon-fit'
import '@xterm/xterm/css/xterm.css'

export default function TerminalPane() {
  const hostRef = useRef<HTMLDivElement>(null)

  useEffect(() => {
    const host = hostRef.current
    if (!host) return

    const term = new Terminal({
      fontSize: 13,
      fontFamily: 'ui-monospace, monospace',
      cursorBlink: true,
      theme: { background: '#181818' }
    })
    const fit = new FitAddon()
    term.loadAddon(fit)
    term.open(host)
    fit.fit()

    // Ask the main process to spawn a shell sized to the current pane.
    window.api.pty.start({ cols: term.cols, rows: term.rows })

    // Shell output -> screen.
    const stopData = window.api.pty.onData((data) => term.write(data))
    // Keystrokes -> shell input.
    const keySub = term.onData((data) => window.api.pty.input(data))

    // Keep the PTY's size in step with the pane.
    const observer = new ResizeObserver(() => {
      fit.fit()
      window.api.pty.resize({ cols: term.cols, rows: term.rows })
    })
    observer.observe(host)

    return () => {
      stopData()
      keySub.dispose()
      observer.disconnect()
      term.dispose()
    }
  }, [])

  return <div ref={hostRef} className="terminal-host" />
}
Drop it into the layout by replacing the terminal placeholder in App.tsx:
import TerminalPane from './terminal/TerminalPane'

// ...inside the terminal section:
<section className="terminal">
  <header className="pane-title">Terminal</header>
  <div className="terminal-body">
    <TerminalPane />
  </div>
</section>
And give the host real dimensions in App.css, since xterm needs a sized container
to lay out its character grid:
.terminal-body { padding: 4px; }
.terminal-host { width: 100%; height: 100%; }In development, React strict mode mounts effects twice on purpose, to flush out
cleanup bugs. That means our effect runs, tears down, and runs again. Our cleanup
disposes the xterm instance and unsubscribes from output, so no listeners leak. The
PTY in the main process survives, because the pty:start guard ignores the second
start and the shell keeps running. The freshly mounted terminal simply re-subscribes
to the same pty:data stream. If you ever see two prompts in production it would
point to a missing guard, but in dev this is expected and harmless.
Rebuild node-pty if you haven't, then run npm run dev. The bottom pane now shows a
live shell prompt. Run ls, start top, run git status in a repo, resize the
window and watch the output reflow. It's a real terminal, talking to a real shell,
rendered by the same component VS Code uses.
You now have all three panes alive at once: a file tree on the left, a Monaco editor top right, and a working terminal beneath it. That is the full skeleton of a code editor.
The terminal pushed us into new territory in two ways that will keep paying off. We handled our first native module, which is the same dance any serious Electron feature needs, from native git bindings to SQLite. And we built a duplex IPC stream out of two one-way channels, which is the pattern behind anything live: file watchers, language servers, debuggers.
The structure now matches a real editor. What's missing is the connective tissue that makes it usable day to day. Right now edits live only in memory.
In Part 5 we close that gap. We add saving to disk, track which files have unsaved changes with a dirty indicator, and introduce tabs so more than one file can be open at once. The per-file Monaco models we set up in Part 3 are about to earn their keep.